Notice: Function _load_textdomain_just_in_time was called incorrectly. Translation loading for the rocket domain was triggered too early. This is usually an indicator for some code in the plugin or theme running too early. Translations should be loaded at the init action or later. Please see Debugging in WordPress for more information. (This message was added in version 6.7.0.) in /var/www/practical-tips.com/wp-includes/functions.php on line 6114

Notice: Function _load_textdomain_just_in_time was called incorrectly. Translation loading for the soledad domain was triggered too early. This is usually an indicator for some code in the plugin or theme running too early. Translations should be loaded at the init action or later. Please see Debugging in WordPress for more information. (This message was added in version 6.7.0.) in /var/www/practical-tips.com/wp-includes/functions.php on line 6114
设置 Google Pixel 9: 分步指南 - Practical Tips

设置 Google Pixel 9: 分步指南

by Mike

在设置新的谷歌 Pixel 9 时,智能手机会引导您完成整个过程,再简单不过了。

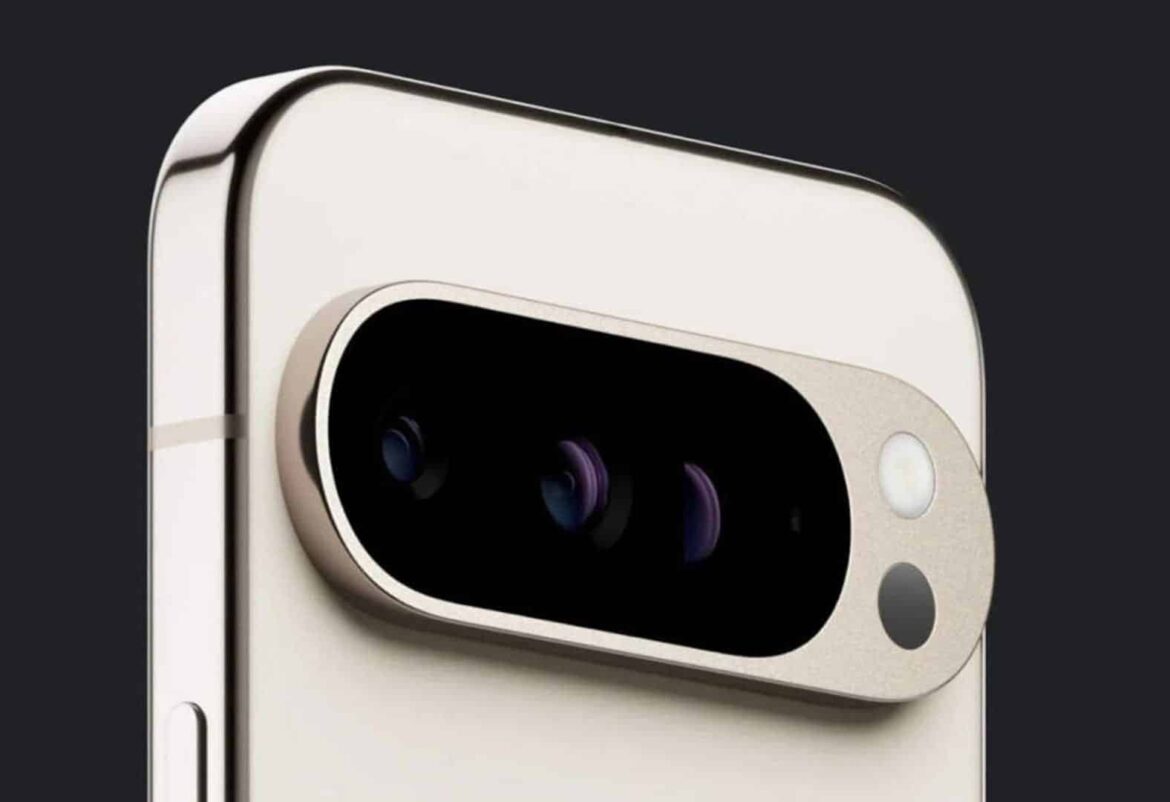
谷歌Pixel 9:设置智能手机。

在设置谷歌 Pixel 9 之前,请首先根据随附的操作说明为设备充电。您可以在首次开机前或开机后插入 SIM 卡。

  • 使用开/关按钮打开设备并等待启动屏幕出现。设备会要求您选择语言和 Wi-Fi 网络,并同意使用条款和隐私政策。
  • 然后,设备会询问您是否要从旧智能手机传输数据。为此,请选择 “复制数据 ”并按照屏幕上显示的说明操作。数据可以通过数据线或无线方式传输。
  • 选择并确认要传输的数据后,传输将自动开始。您也可以跳过数据传输,稍后再进行。
  •  下一步,你可以选择使用谷歌账户登录。
  • 然后,谷歌 Pixel 9 会要求你设置屏幕锁。输入并确认所选的四位数 PIN 码后,即可设置指纹识别和面部识别进行解锁。
  • 现在选择默认浏览器和搜索引擎。在提及有限保修后,接下来将介绍谷歌人工智能和设备的安全功能。
  • 最后,你可以设置 Google Pay 并选择进一步的设置选项,然后设备会向你简要介绍 Google Pixel 9 的操作。
Related Articles

Leave a Comment