2.5K
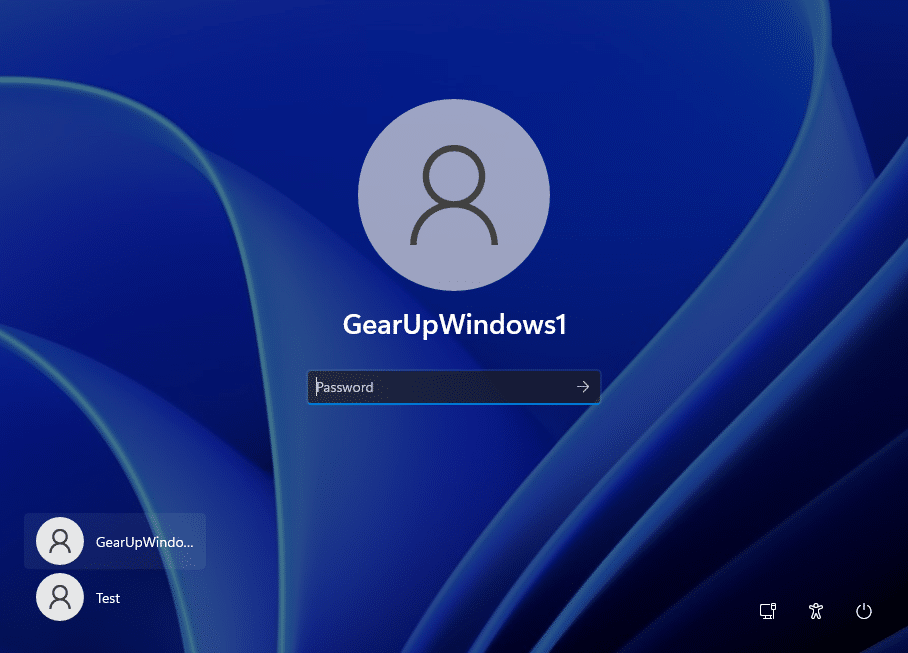
Automatic logon in Windows 11 helps your system load faster. In this practical tip, we show you how to log on automatically.
Automatic logon in Windows 11
Due to higher security standards in Windows 11, automatic login without a password is not available in Windows 11 in the settings
- You can still remove your password completely via the user account settings.
- To do this, start the Run dialogue with the key combination [Windows] + [R].
- Enter (without inverted commas) “netplwiz” and then click on [OK].
- Select the user name for which you want to remove the password.
- Uncheck the box next to “Users must enter username and password”.
- Enter the user name and the previous password and then confirm with [OK].
- If the option is not displayed, you must first deactivate Windows Hello in the Windows settings. You can read how to do this in the next paragraph.
Disable Windows Hello – here’s how
To be able to log in automatically, Windows Hello must be deactivated
- Open the Windows 11 settings, which can be found in the Start menu, via search or with the key combination [Windows key] + [I].
- Click on “Accounts” on the left and then select “Login options” on the right.
- Finally, uncheck the box “For security reasons, only allow Microsoft accounts on this device to log in with Windows Hello (recommended)”.
- Also, change the option “When should Windows request a logon again after being away?” to “Never “
- Now you can press the [Remove] button next to all enabled logon options to disable the option.
- Now the requirements for removing your password and automatic login are met.


