960
If you want to take a screenshot with Windows 10, a tool or the right key combination will help. The screenshot function is already pre-installed.
Take a screenshot with Windows 10 – here’s how to do it with the key combination
You can create a screenshot in Windows 10 easily and quickly yourself. Even without tools and software, because Windows already offers the function. You need the right key combination.
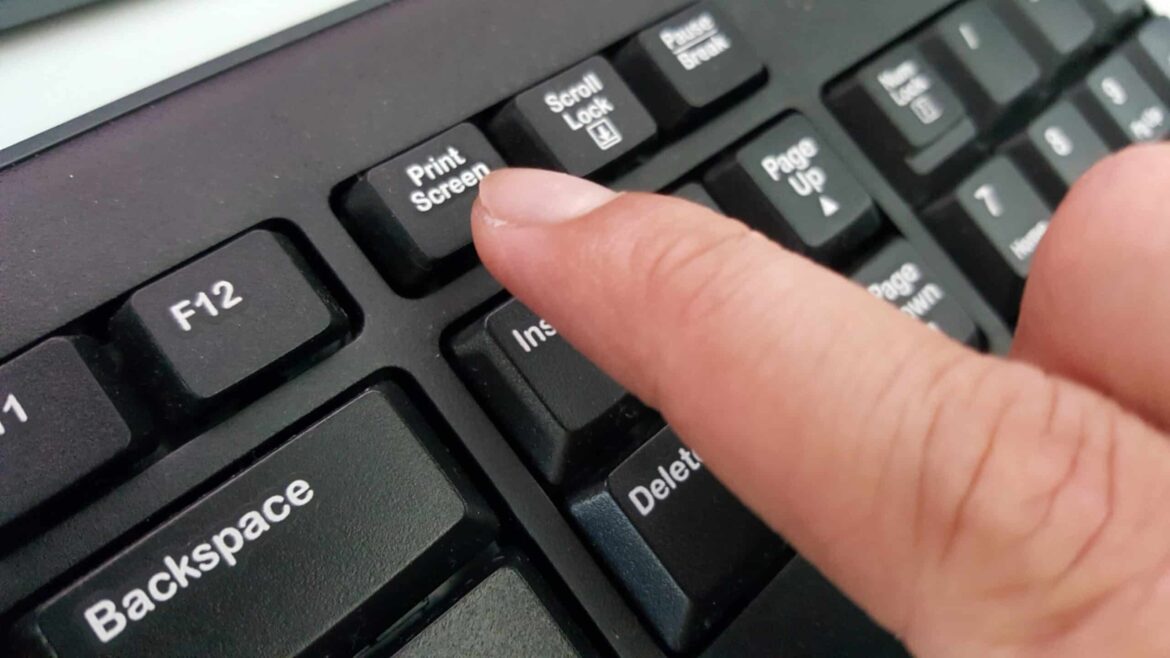
- Press the [Windows] and [Print] keys on your keyboard. Depending on your PC or keyboard, this key may also be called [Print] or [PrintSceen] or [PrntScr]. It is almost always located in the upper right corner.
- You will now find a folder called Screenshots under Pictures. This is where the screenshot you just made is located. With this function, the entire screen is photographed. If you use several screens, the result is a large overall picture, which you can crop with Paint or other editing programmes as desired.
- Alternatively, just click the [Print] button. This will save the screenshot to the clipboard and you can paste it directly into the image editing tool of your choice by pressing [CTRL] + [V].
Windows 10: Create screenshot with Snipping Tool or “Cut and Sketch “
Alternatively, you can take a screenshot under Windows 10 with the pre-installed programmes Snipping Tool or Cut and Sketch. You can find both programmes by first pressing the Windows key and then typing the programme name in the search bar.
- Snipping Tool: Once you have started the programme, you can take a screenshot using the simple menu navigation. Click on “New”, take a screenshot. Before doing so, select how you want to take the screenshot under Mode. Then you can save the picture as usual.
- Crop and sketch: With the key combination [Windows key] + [Shift] + [S] you can directly mark the area you want to save as an image. In the upper area, select how you want to screenshot. The photo is saved in the clipboard and can be loaded into any image programme via [Ctrl] + [V].

