1K
If the camera does not work on your Lenovo computer, this can have many causes. You can find out how to solve the problem here.
Lenovo: Camera not working – hardware troubleshooting
If the camera does not work on your Lenovo notebook, first check if it is hardware related. The following steps are applicable to the IdeaPad and ThinkPad model series:
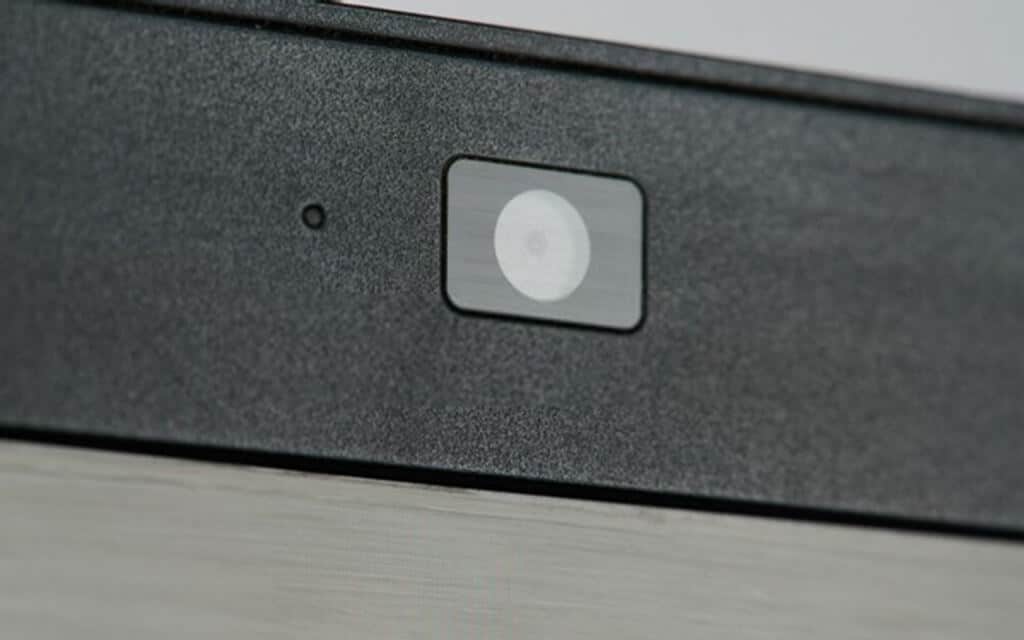
- First of all, check whether a webcam is installed in your device at all. The camera is usually located in the frame above the screen.
- Some models have a privacy slider. Make sure this is open.
- If you bought the unit new, the camera may still have a protective film on it. Remove it if the camera shows no image or only a blurred image
- Some models have a button on the keyboard to switch on the webcam, usually the F8 key. Press the button to activate the camera.
Software solutions
Of course, a malfunction of the webcam can also have software-related reasons. To narrow down the error, go to the Windows settings and take the following measures:
- Allow access in the privacy settings: Navigate to “Settings” via “Start”. Under “Privacy & Security” scroll to “App Permissions – Camera”. Here you can specify which programmes you want to grant access to the webcam.
- Find the camera in the Device Manager: Open the Device Manager in Windows 10, go to “Cameras, Imaging Devices or Sound, Video and Game Controllers” and find the camera there. If the device is not present, click on “Search for changed hardware”. If the device has a yellow exclamation mark, the driver is out of date or not installed correctly. Right-click on the device and select “Uninstall”. Then repeat the procedure “Search for changed hardware”.
- Reinstall the driver: If the webcam remains without function and the yellow exclamation mark is still visible, go to the Lenovo support page and search for your model. Open the product page of your device and navigate to “Driver & Software”. Find the camera driver by filtering by operating system used and the hardware component in question. Download the correct driver, double-click on the file and follow the installation instructions.
- Check Lenovo settings: Your notebook may have “Lenovo Smart Appearance” installed. If a picture is output but it is blurry, disable the “Background” feature in the application.
- Check anti-virus programme: Use an antivirus such as Avast Free Antivirus or AVG AntiVirus Free, see if the programme blocks the use of the webcam.
- If all these measures do not help, there may be a hardware defect. If this is the case, contact Lenovo Technical Support.
