1.1K
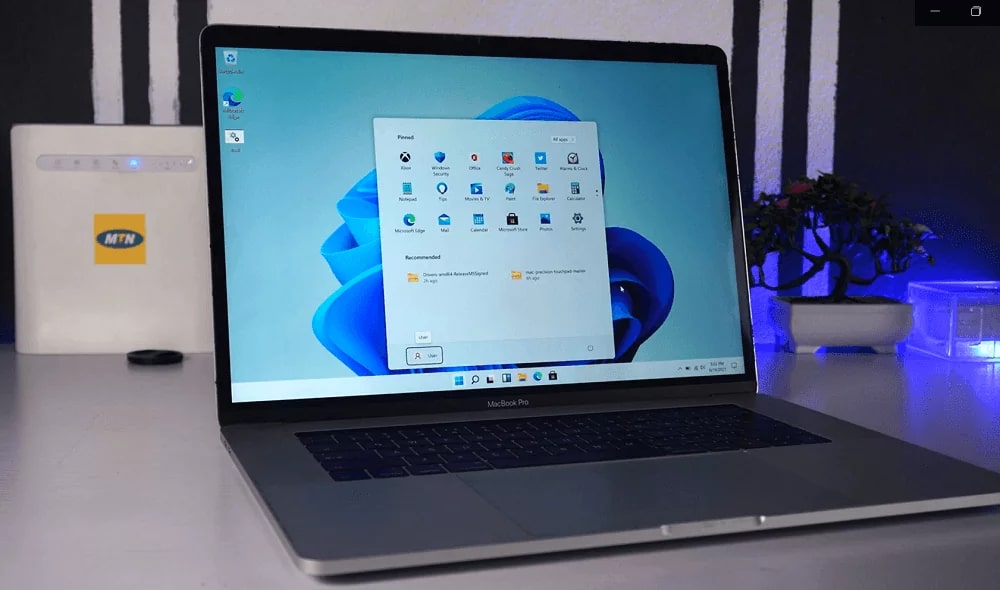
To install Windows 11 on a Mac, you need the virtualisation software Parallels. It allows you to use Win OS on macOS.
Install Windows 11 on Mac with Parallels
You can use Windows 11 on all MacBooks and iMacs that use an M1 or M2 chip via the Parallels application. These models offer sufficient performance to be able to use Windows 11 on your Mac without major sacrifices.
- Ahead of time: You need a Standard or Pro licence to use Parallels. You can obtain these either as an annual subscription or via a fixed price directly on the provider’s homepage. Alternatively, you can install the time-limited and free trial version.
- Furthermore, a licence for Windows 11 Pro is required. Windows 11 Home is not supported by Parallels. Have the key ready during installation.
- Download the installer to your Mac and run the file. The installation wizard will open.
- Start the installation process by clicking the Install Parallels Desktop button. The End User Licence Agreement will appear. Confirm it.
- The installer will start downloading the necessary files. After that, the installation will be completed automatically.
- Now you must choose whether you want to obtain Windows 11 from Microsoft or insert an ISO with the operating system yourself. This is possible, for example, via external storage media. Here, a download or transfer of the data from the storage medium also takes place.
- Next, you can select the desired Windows 11 version. Ideally, this should be the latest one. Confirm it.
- You will then be asked for the installation location and name you want to assign to the Windows 11 installation. Click on Create and a virtual desktop with the Windows 11 icon will open.
- Parallels will now install the operating system on your Mac, recognisable by the characteristic Windows setup screen. This may take a few minutes, depending on the system.
- During or after the installation, you must enter the activation code if asked by the programme. At the end, you must also confirm the End User Licence Agreement for Windows. Now Windows 11 is installed and you can use the Virtual Desktop.

