725
Editing the hosts file for web hosting is not that easy. The file is easy to find, but you need the appropriate rights to make changes.
Web hosting: This is how you get the rights to edit the hosts file
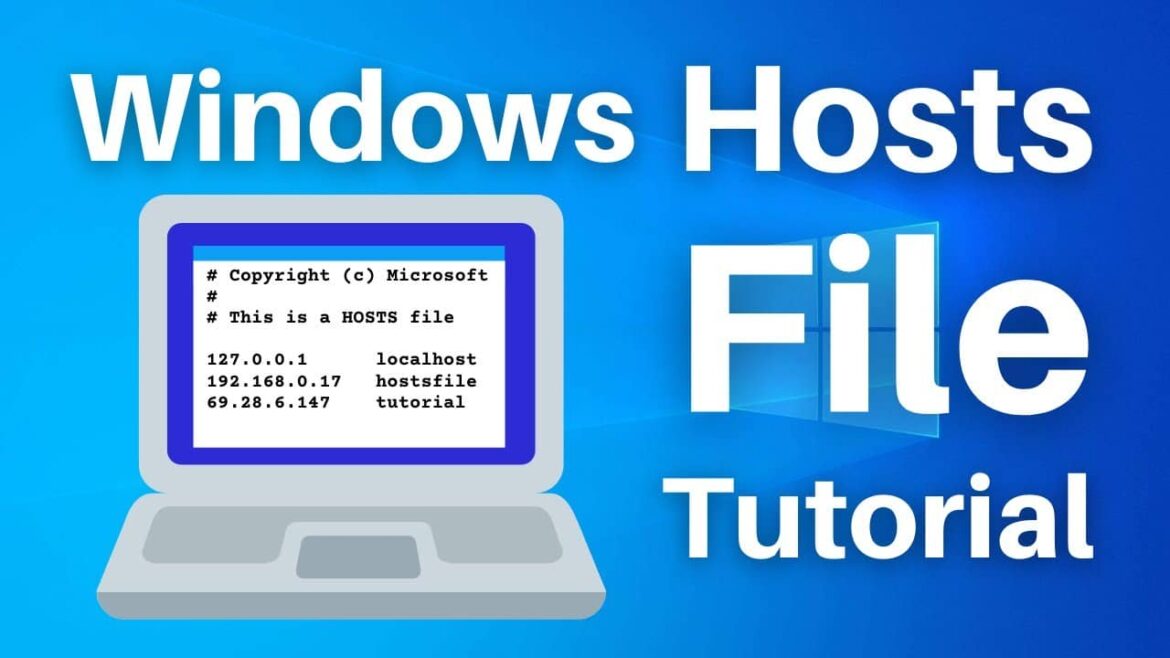
The hosts file ensures that a host name is assigned to each IP address. This hosts file can be found in the depths of the Windows files. You can edit the hosts file using a text editor.
- In Windows Explorer, type “%windir%\system32\drivers\etc”.
- Next, right-click on the “hosts”.
- Now go to ‘Open with’ and select the editor.
- The editor opens and you can now edit the file.
Changing the hosts file with the editor in Windows
If you have opened the editor as an administrator, you can get down to business: edit the hosts file.
- Press and hold the Ctrl key and “O” within the editor. Alternatively, you can also go to “File” and then “Open…”.
- In the newly opened window, navigate to C:\Windows\System32\drivers\etc. Make sure that “All files (*.*)” is selected at the bottom right and not “Text files (*.txt)” so that the hosts file is also displayed.
- The “etc” folder contains the “hosts” file. If you have opened the hosts file, you will see some English-language comments preceded by the symbol to write comments and notes for your own information.
- If you now want to add a new entry, it is best to do so below the comments. Each entry should be on a separate line. At the beginning of the line, write the IP address and, separated by at least one space, the corresponding host name.
- If you want to block all network traffic to a particular domain using the hosts file, use “127.0.0.1” as the IP address. Example: If you enter the line “127.0.0.1 google.com”, access to google.com will be blocked. So you can no longer access the page in the browser, for example.
- Once you have edited the hosts file as desired, press and hold the Ctrl key and “S” on the keyboard in the editor window to save the modified Windows file.

