374
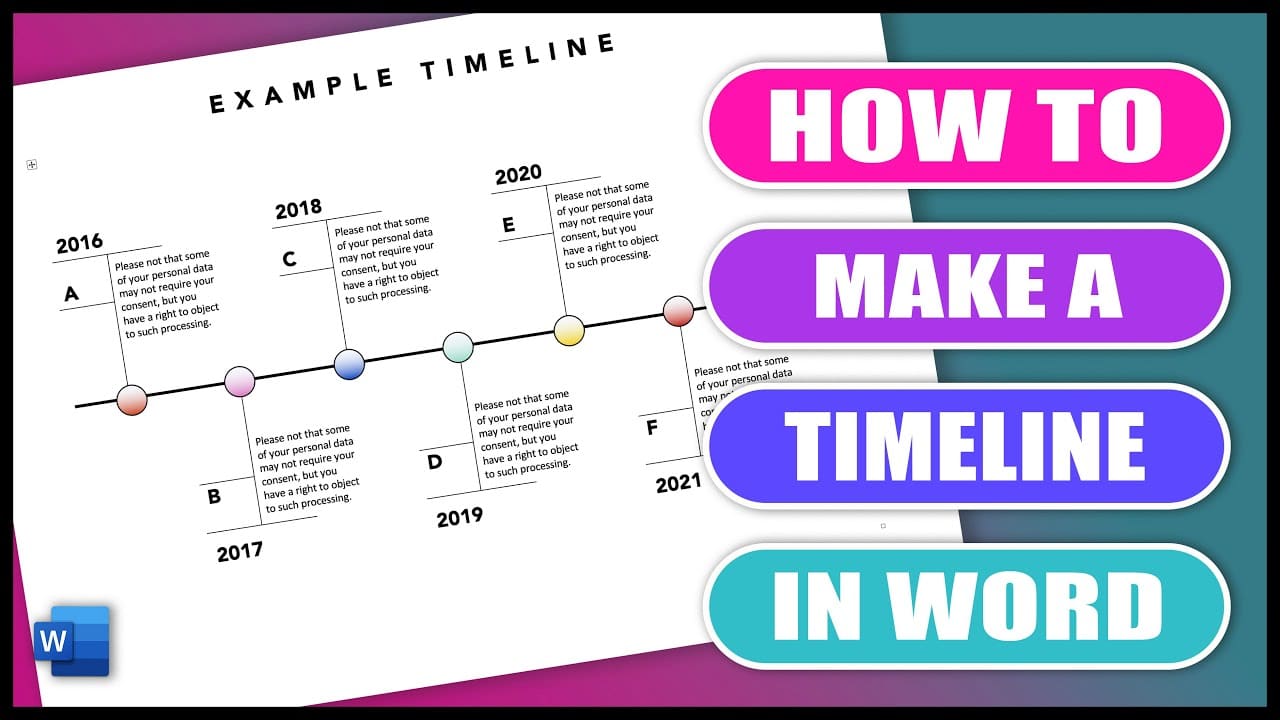
With Word, you can not only write texts, but also create a timeline in just a few simple steps. This is done in just a few steps
How to create a timeline in Word
To display historical data or other chronological sequences in a timeline, a timeline can be a nice visualization. To create a timeline in Word, proceed as follows:
- Open a Word document and click on “SmartArt” in the “Insert” menu.
- Select the “Process” category here. You will now be shown various options for mapping the timeline.
- Choose one and the style sheet will be inserted into your Word document. Add the labels and dates and your timeline is ready.
Layout the timeline
Once you have decided on a display, you can still adapt the timeline to your data.
- Double-click on the SmartArt and open the “Layouts” in the “Design” tab. Here you can change the display of the timeline at a later date without losing your data
- To add another field to your timeline, right-click on a Word field within the SmartArt. Select “Add shape” and decide on the position of your additional field.
- If you want to change the color and font, click on the respective field and switch to the “Start” tab to adjust the font and colors.
