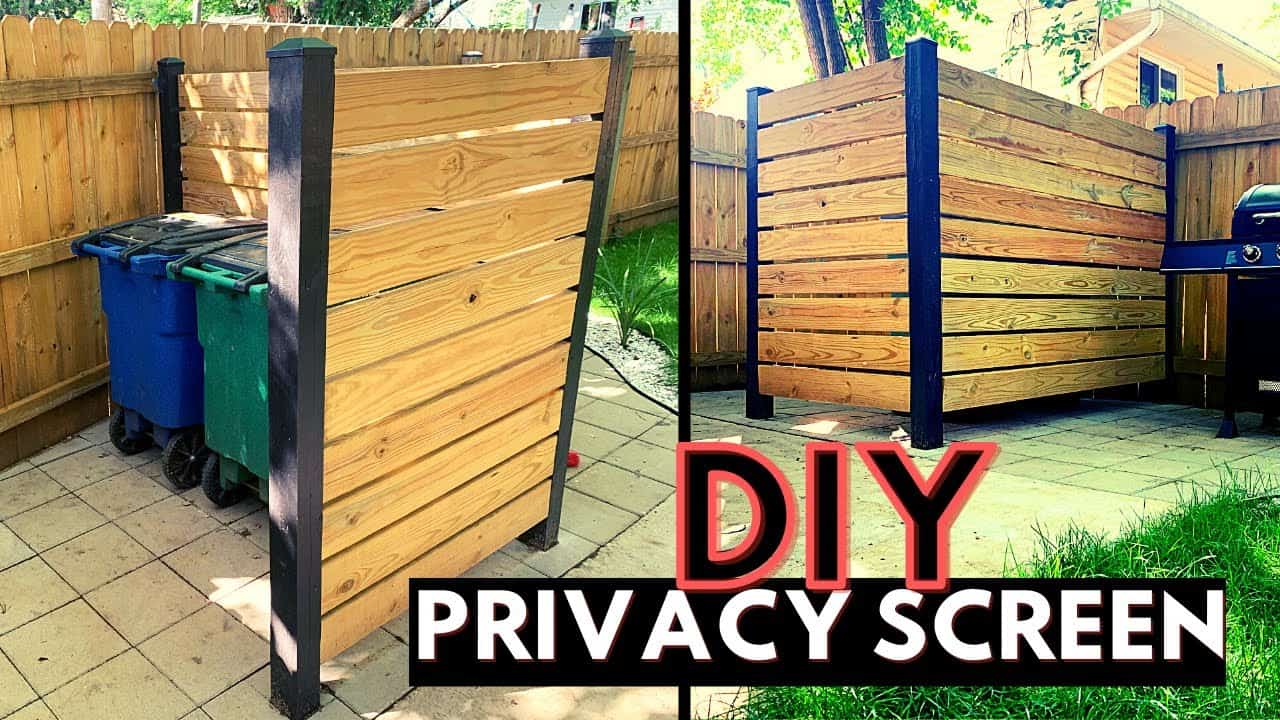
You can build a privacy screen out of pallets in just a few steps. This DIY project is an ideal, low-cost way to create more privacy in your garden or on your patio.
Pallets as a privacy screen: preparation
A pallet privacy screen is an affordable and sustainable way to create more privacy in your garden or on your patio. Not only are wooden pallets inexpensive or even free to get hold of, they also look great in both rustic and modern settings.
- To build a privacy screen out of pallets, you will need some materials and tools. The most important thing is the Euro pallets or one-way pallets. You should also have screws or nails, as well as wooden strips or battens for stabilization.
- Optional is wood stain or paint, which can provide weather protection. You can also incorporate plants or decorative elements into the DIY project if you wish.
- The tools you need are a cordless screwdriver or hammer, sandpaper or a sander and a saw if adjustments are necessary. You will also need a spirit level and a brush or sprayer for the wood treatment.
Step by step to more privacy with pallets
Now that you have prepared and obtained the necessary tools, you are ready to start your DIY project. This guide explains step by step how you can turn simple pallets into a stylish privacy screen with a shabby look:
- The first step is to prepare the pallets. To do this, clean the pallets thoroughly and sand them down to remove splinters. If desired, you can also apply a wood stain or paint to make the wood weatherproof.
- You can then set up the pallets. Depending on the desired height of the privacy screen, you can set them up vertically or horizontally. If necessary, saw the pallets to size to achieve an even height.
- For the attachment and stabilization connect several pallets with wooden strips or slats. Screw the pallets tightly together and fix them with ground anchors if they are free-standing.
Creative ideas for your pallet privacy screen
A pallet privacy screen is not only a practical but also a creative way to design your outdoor area. With little effort, you can create an individual and stylish partition.
- Green privacy screen: Plant climbing plants such as ivy or clematis in flower boxes on the pallet. This quickly creates a green wall that gives you more privacy and also fits perfectly into your garden.
- Colorful design: Paint the pallets in a color of your choice to customize them to your garden design. You can do this before fixing them in the desired location or after the privacy screen has already been installed.
- Integrated shelves: Use the spaces between the pallets for small shelves that can be filled with decorations or herbs. Whether it’s a beautiful garden ball or small lanterns, the pallets give free rein to your creativity here.
