Notice: Function _load_textdomain_just_in_time was called incorrectly. Translation loading for the rocket domain was triggered too early. This is usually an indicator for some code in the plugin or theme running too early. Translations should be loaded at the init action or later. Please see Debugging in WordPress for more information. (This message was added in version 6.7.0.) in /var/www/practical-tips.com/wp-includes/functions.php on line 6114

Notice: Function _load_textdomain_just_in_time was called incorrectly. Translation loading for the wpforms-lite domain was triggered too early. This is usually an indicator for some code in the plugin or theme running too early. Translations should be loaded at the init action or later. Please see Debugging in WordPress for more information. (This message was added in version 6.7.0.) in /var/www/practical-tips.com/wp-includes/functions.php on line 6114

Notice: Function _load_textdomain_just_in_time was called incorrectly. Translation loading for the soledad domain was triggered too early. This is usually an indicator for some code in the plugin or theme running too early. Translations should be loaded at the init action or later. Please see Debugging in WordPress for more information. (This message was added in version 6.7.0.) in /var/www/practical-tips.com/wp-includes/functions.php on line 6114

Notice: Function _load_textdomain_just_in_time was called incorrectly. Translation loading for the wordpress-seo domain was triggered too early. This is usually an indicator for some code in the plugin or theme running too early. Translations should be loaded at the init action or later. Please see Debugging in WordPress for more information. (This message was added in version 6.7.0.) in /var/www/practical-tips.com/wp-includes/functions.php on line 6114
PCとビーマー:適切な解像度を設定する - Practical Tips

PCとビーマー:適切な解像度を設定する

by Corinna

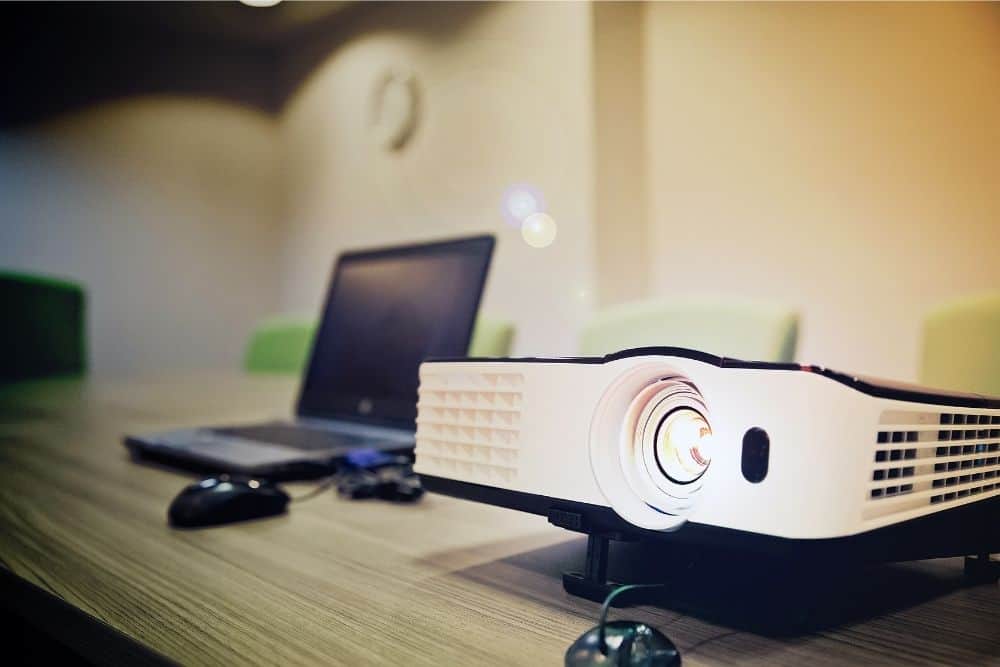
PCの解像度とビーマーの解像度を別々に設定することで、常に最適な画像を投影することができます。こうすることで、聴衆が目を細めることなく、パソコンからノートをしっかり読むことができるのです。

ビーマーの解像度とPCの解像度を最適に調整する。

ノートパソコンの解像度が1600×900しかなくても、ビーマーは1920×1080、つまりフルHD(以上)の画像をスクリーンに投影することが可能です。異なる解像度設定は、ディスプレイを複製することで可能になります。こうすることで、各ユニットはネイティブの解像度を保持することができます。

  • プロジェクターとPCを接続し、デバイスが認識されるまで待ちます
  • プロジェクターやコンピューターに歪んだ画像が表示された場合は、[Windows]+[P]キーを同時に押してください
  • 表示オプションで「複製」を選択する
  • 解像度を手動で設定するには、ディスプレイの設定に進みます。そのためには、デスクトップ上の任意の場所を右クリックし、「ディスプレイの設定」を選択します。
  • 左側の「解像度の調整」をクリックします。
  • ここでは、PCとプロジェクターの現在の解像度を確認できます。
  • スライダーで解像度を変更し、鮮明な画像を得ることができます。ほとんどの場合、Windowsが推奨する設定が適しています。
Related Articles

Leave a Comment