Notice: Function _load_textdomain_just_in_time was called incorrectly. Translation loading for the rocket domain was triggered too early. This is usually an indicator for some code in the plugin or theme running too early. Translations should be loaded at the init action or later. Please see Debugging in WordPress for more information. (This message was added in version 6.7.0.) in /var/www/practical-tips.com/wp-includes/functions.php on line 6114

Notice: Function _load_textdomain_just_in_time was called incorrectly. Translation loading for the mailchimp-for-wp domain was triggered too early. This is usually an indicator for some code in the plugin or theme running too early. Translations should be loaded at the init action or later. Please see Debugging in WordPress for more information. (This message was added in version 6.7.0.) in /var/www/practical-tips.com/wp-includes/functions.php on line 6114

Notice: 関数 _load_textdomain_just_in_time が誤って呼び出されました。soledad ドメインの翻訳の読み込みが早すぎました。これは通常、プラグインまたはテーマの一部のコードが早すぎるタイミングで実行されていることを示しています。翻訳は init アクション以降で読み込む必要があります。 詳しくは WordPress のデバッグをご覧ください。 (このメッセージはバージョン 6.7.0 で追加されました) in /var/www/practical-tips.com/wp-includes/functions.php on line 6114
Wordで年表を作成する - Practical Tips

Wordで年表を作成する

by Corinna

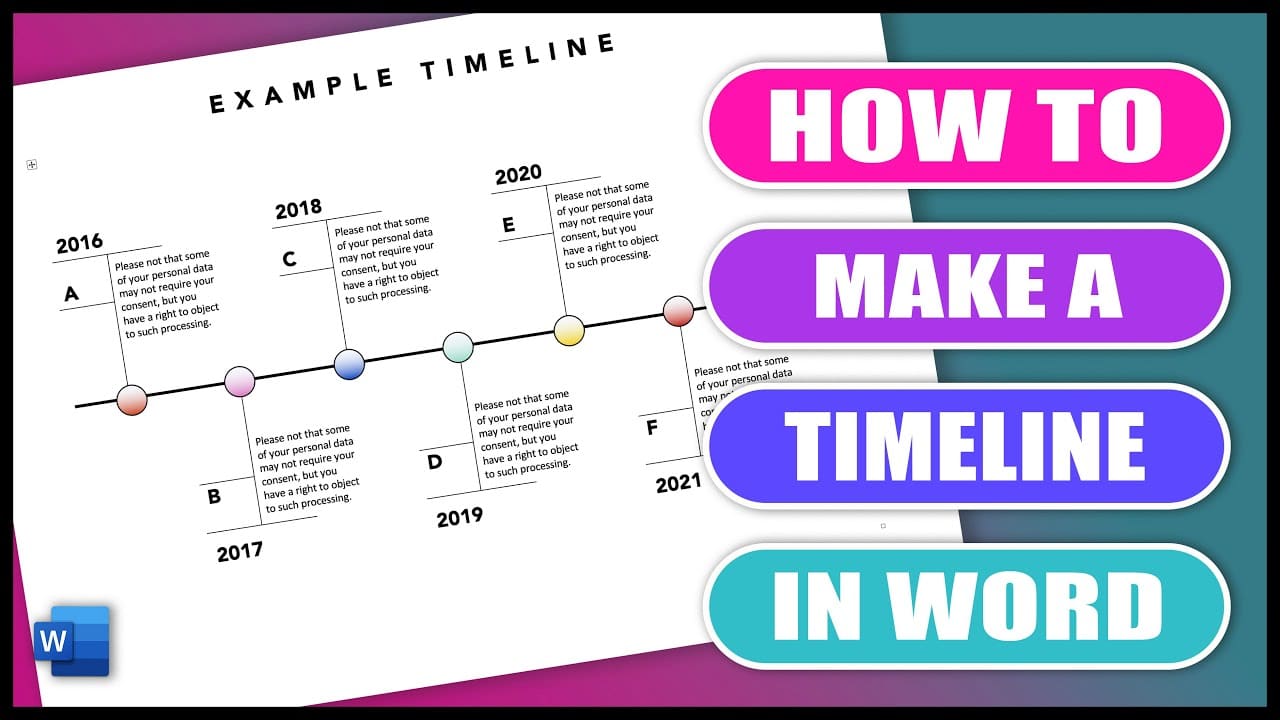
Wordを使えば、文章を書くだけでなく、簡単なステップで年表を作成することもできます。たった数ステップでできます。

ワードで年表を作成する方法

歴史的なデータやその他の時系列を時系列で表示するには、タイムラインは素敵なビジュアライゼーションになります。Wordで年表を作成するには、次のようにします:

  • Word文書を開き、「挿入 」メニューの 「SmartArt 」をクリック。
  • ここで「プロセス」カテゴリを選択します。タイムラインをマッピングするための様々なオプションが表示されます。
  • 1つを選ぶと、フォーマットテンプレートがあなたのWordドキュメントに挿入されます。ラベルと日付を追加すれば、Timelineの出来上がりです。

Timelineをレイアウトする

表示が決まったら、あなたのデータに合わせてタイムラインをカスタマイズして下さい。

  • SmartArtをダブルクリックし、「デザイン 」タブの 「レイアウト 」を開きます。ここで、データを失うことなく、後日タイムラインの表示を変更することもできます。
  • Timelineに別のフィールドを追加するには、SmartArt内のWordフィールドを右クリックします。シェイプを追加」を選択し、追加フィールドの位置を決めましょう。
  • 色やフォントを変更したい場合は、それぞれのフィールドをクリックし、「開始」タブに切り替えて、フォントや色を調整します。
Related Articles

Leave a Comment