Notice: Function _load_textdomain_just_in_time was called incorrectly. Translation loading for the rocket domain was triggered too early. This is usually an indicator for some code in the plugin or theme running too early. Translations should be loaded at the init action or later. Please see Debugging in WordPress for more information. (This message was added in version 6.7.0.) in /var/www/practical-tips.com/wp-includes/functions.php on line 6114

Notice: Function _load_textdomain_just_in_time was called incorrectly. Translation loading for the soledad domain was triggered too early. This is usually an indicator for some code in the plugin or theme running too early. Translations should be loaded at the init action or later. Please see Debugging in WordPress for more information. (This message was added in version 6.7.0.) in /var/www/practical-tips.com/wp-includes/functions.php on line 6114
iMacをモニターとして使う - その方法は? - Practical Tips

iMacをモニターとして使う – その方法は?

by Flo

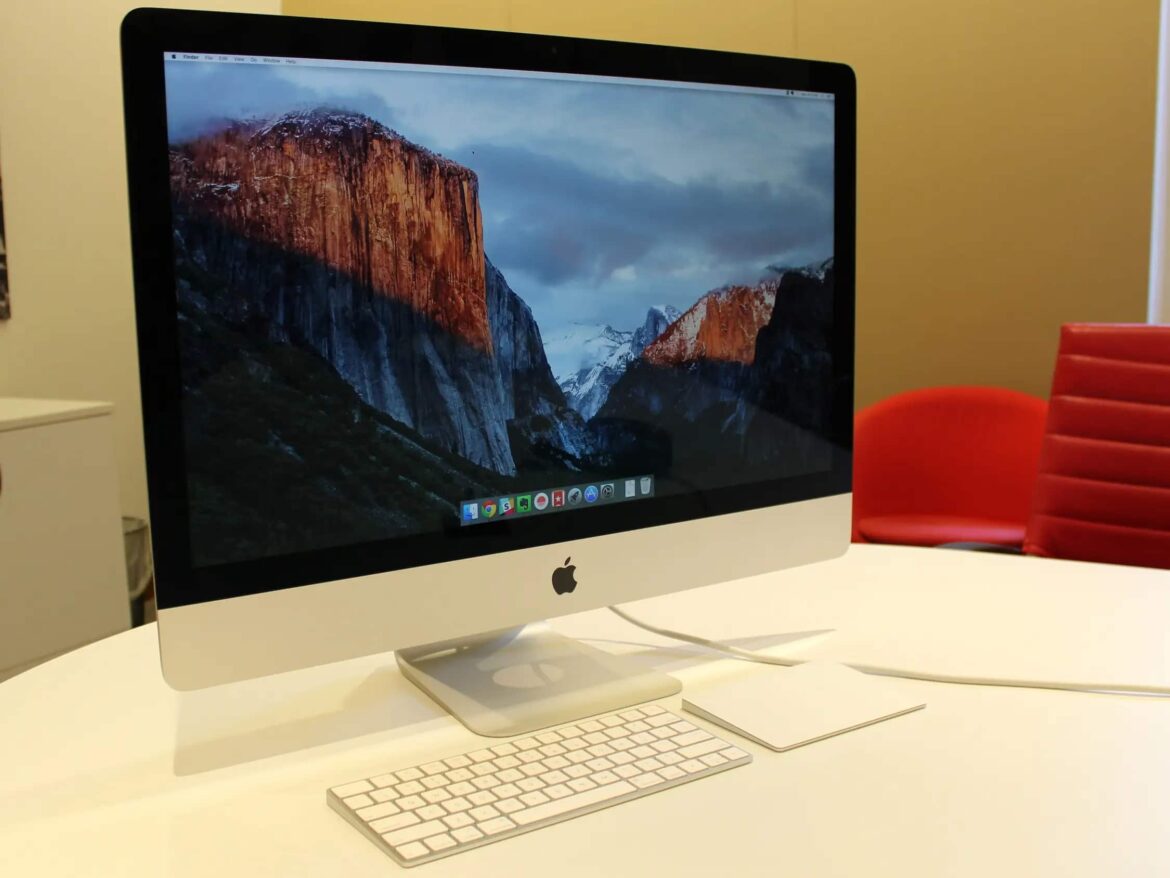
iMacをセカンドモニターとして使うこともできます。iMacをセカンドモニターとして使う方法と注意点をご紹介します。

iMacをセカンドモニターに: 互換性のあるモデルは?

まず最初に、iMacシリーズのすべてのモデルが画面同期モードで操作できるわけではないことに注意が必要です。また、スクリーンの接続方法も異なります:

    iMac27インチ、2009年後半 iMac27インチ、2010年半ば

Mini-DisplayPortあたり。

  • Per Thunderbolt:iMac2011年半ば|iMac2012年半ば~2014年半ば(全サイズ)

  • 前提条件:Mac OS X 10.6.1以降がインストールされており、Mini-DisplayPortまたはThunderboltが利用可能であること。

新しいモデルにはこのオプションはありません。

UVXGUVXH

iMacを画面同期モードで使用する

iMacを外部モニターとして設定するには、簡単なキーの組み合わせがあります:

  • まずiMacを起動し、Mini-DisplayPortまたはThunderbolt経由で他のデバイスに接続します。
    • 次にiMacの[cmd]+[F2]キーを押します。
      • iMacの画面が接続デバイスのセカンドモニターとして認識され、デスクトップが表示されます。
          上記のキーの組み合わせが機能しない場合は、接続デバイスで「F1、F2などを標準ファンクションキーとして使用する」設定が有効になっているかどうかを確認してください。この場合、接続されているコンピュータで [cmd] + [Fn] + [F2] のキーの組み合わせを押す必要があります。次にiMacで[cmd]+[F2]を押します。

Related Articles

Leave a Comment