Notice: Function _load_textdomain_just_in_time was called incorrectly. Translation loading for the rocket domain was triggered too early. This is usually an indicator for some code in the plugin or theme running too early. Translations should be loaded at the init action or later. Please see Debugging in WordPress for more information. (This message was added in version 6.7.0.) in /var/www/practical-tips.com/wp-includes/functions.php on line 6114

Notice: Function _load_textdomain_just_in_time was called incorrectly. Translation loading for the mailchimp-for-wp domain was triggered too early. This is usually an indicator for some code in the plugin or theme running too early. Translations should be loaded at the init action or later. Please see Debugging in WordPress for more information. (This message was added in version 6.7.0.) in /var/www/practical-tips.com/wp-includes/functions.php on line 6114

Notice: 関数 _load_textdomain_just_in_time が誤って呼び出されました。soledad ドメインの翻訳の読み込みが早すぎました。これは通常、プラグインまたはテーマの一部のコードが早すぎるタイミングで実行されていることを示しています。翻訳は init アクション以降で読み込む必要があります。 詳しくは WordPress のデバッグをご覧ください。 (このメッセージはバージョン 6.7.0 で追加されました) in /var/www/practical-tips.com/wp-includes/functions.php on line 6114
ノートパソコンとプリンターを接続する方法 - Practical Tips

ノートパソコンとプリンターを接続する方法

by Flo

ノートパソコンとプリンターを接続する方法はいくつかあります。例えば、USBケーブルやW-LAN経由などです。

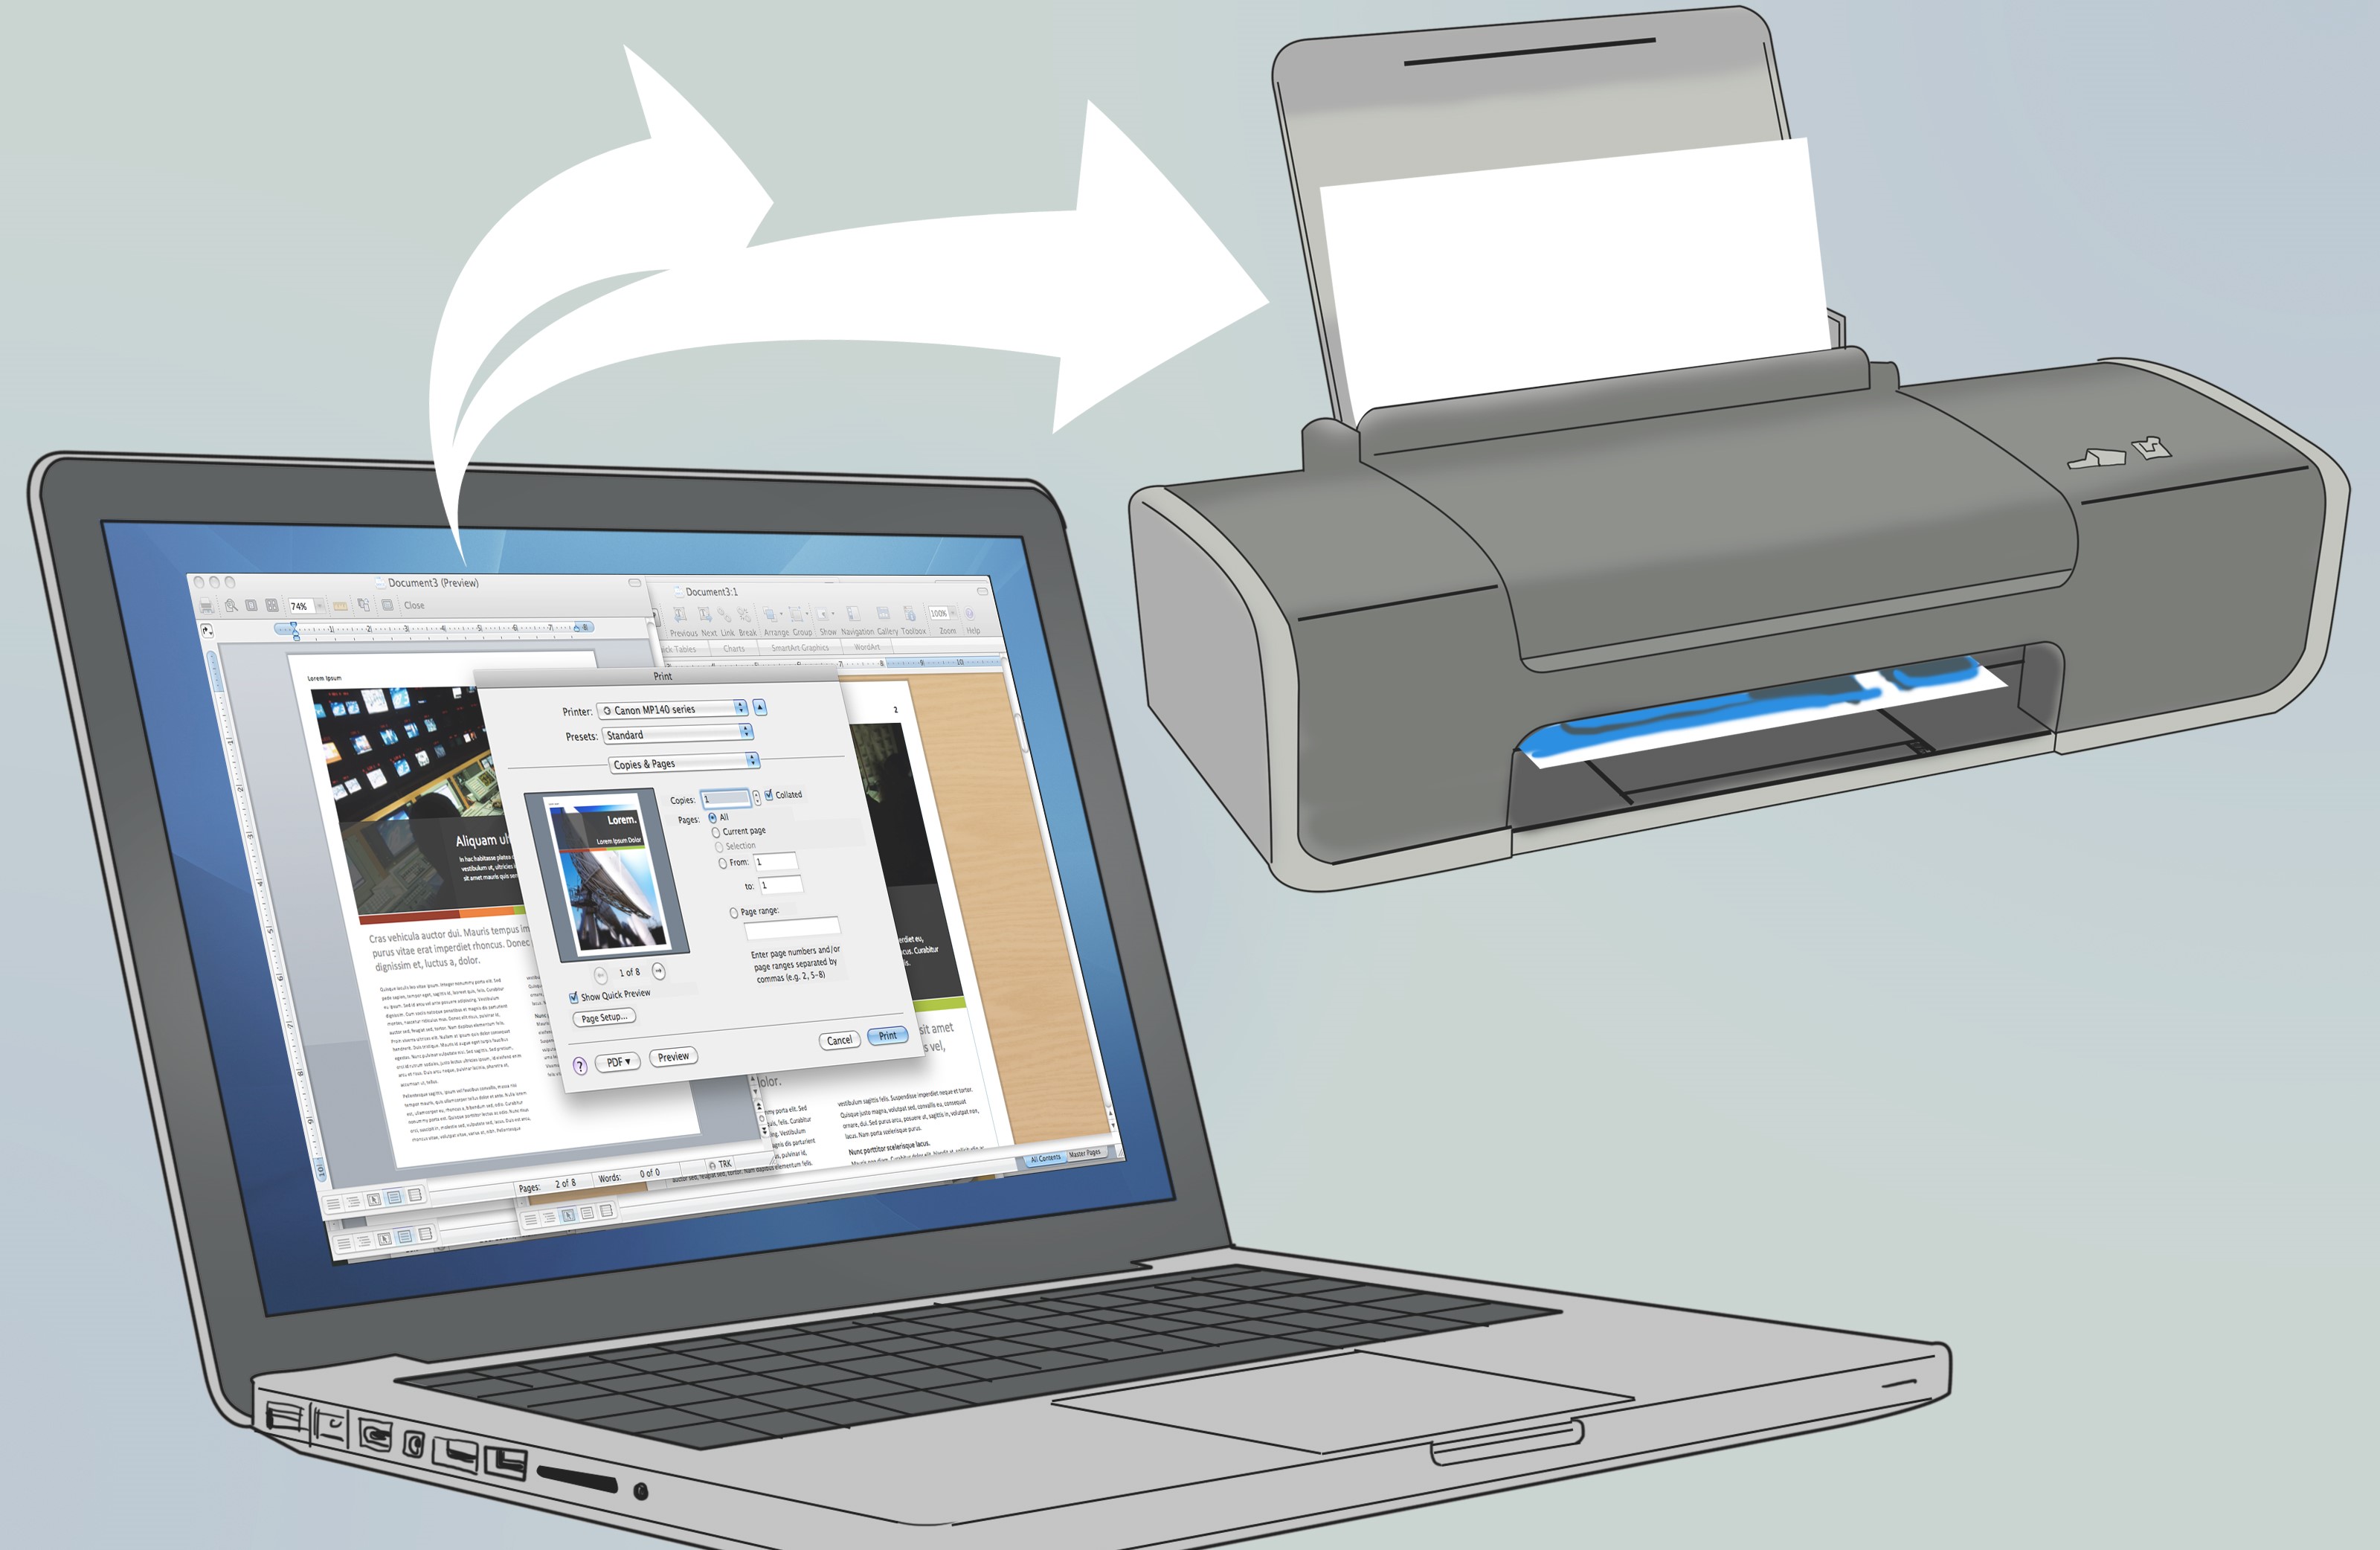
ノートパソコンとプリンターを接続する方法です。

ノートパソコンとプリンターをUSBケーブルで接続したい場合、これは少し厄介です。もっと便利なのは、プリンターまで歩かなくてもいい、無線LAN経由の方法です。

  • USBケーブル:ノートPCをケーブルでプリンターに接続するだけです。すると、Windowsのバーにデバイスが表示されます。ドライバをインストールするよう促され、プリンタを開いて印刷を開始することができます。ただし、最近のノートパソコンには、USBポートがないものもあります
  • WLAN:この方法は非常に便利なので、WLAN経由で接続するのが一般的です。まず、プリンターの設定に入ります。これはプリンターのディスプレイで直接行います。次に、「ネットワーク」または「接続」オプションを選択して、WLANに接続する必要があります
  • ここで、WLANのパスワードを入力します。ノートパソコンが同じネットワークに接続されている必要があります。
  •  ノートパソコンで、「コントロールパネル」→「ハードウェアとサウンド」→「デバイスとプリンター」に進みます。プリンターの追加」で、適切なデバイスを選択します
  • プリンターのドライバーをインストールする必要があります。通常、ドライバーのインストール方法を説明するメッセージが表示されます。この指示に従ってください。
  • これで、印刷ジョブを開始することができます。Microsoft Wordでは、プログラムの「印刷」でプリンターに直接アクセスできます
Related Articles

Leave a Comment