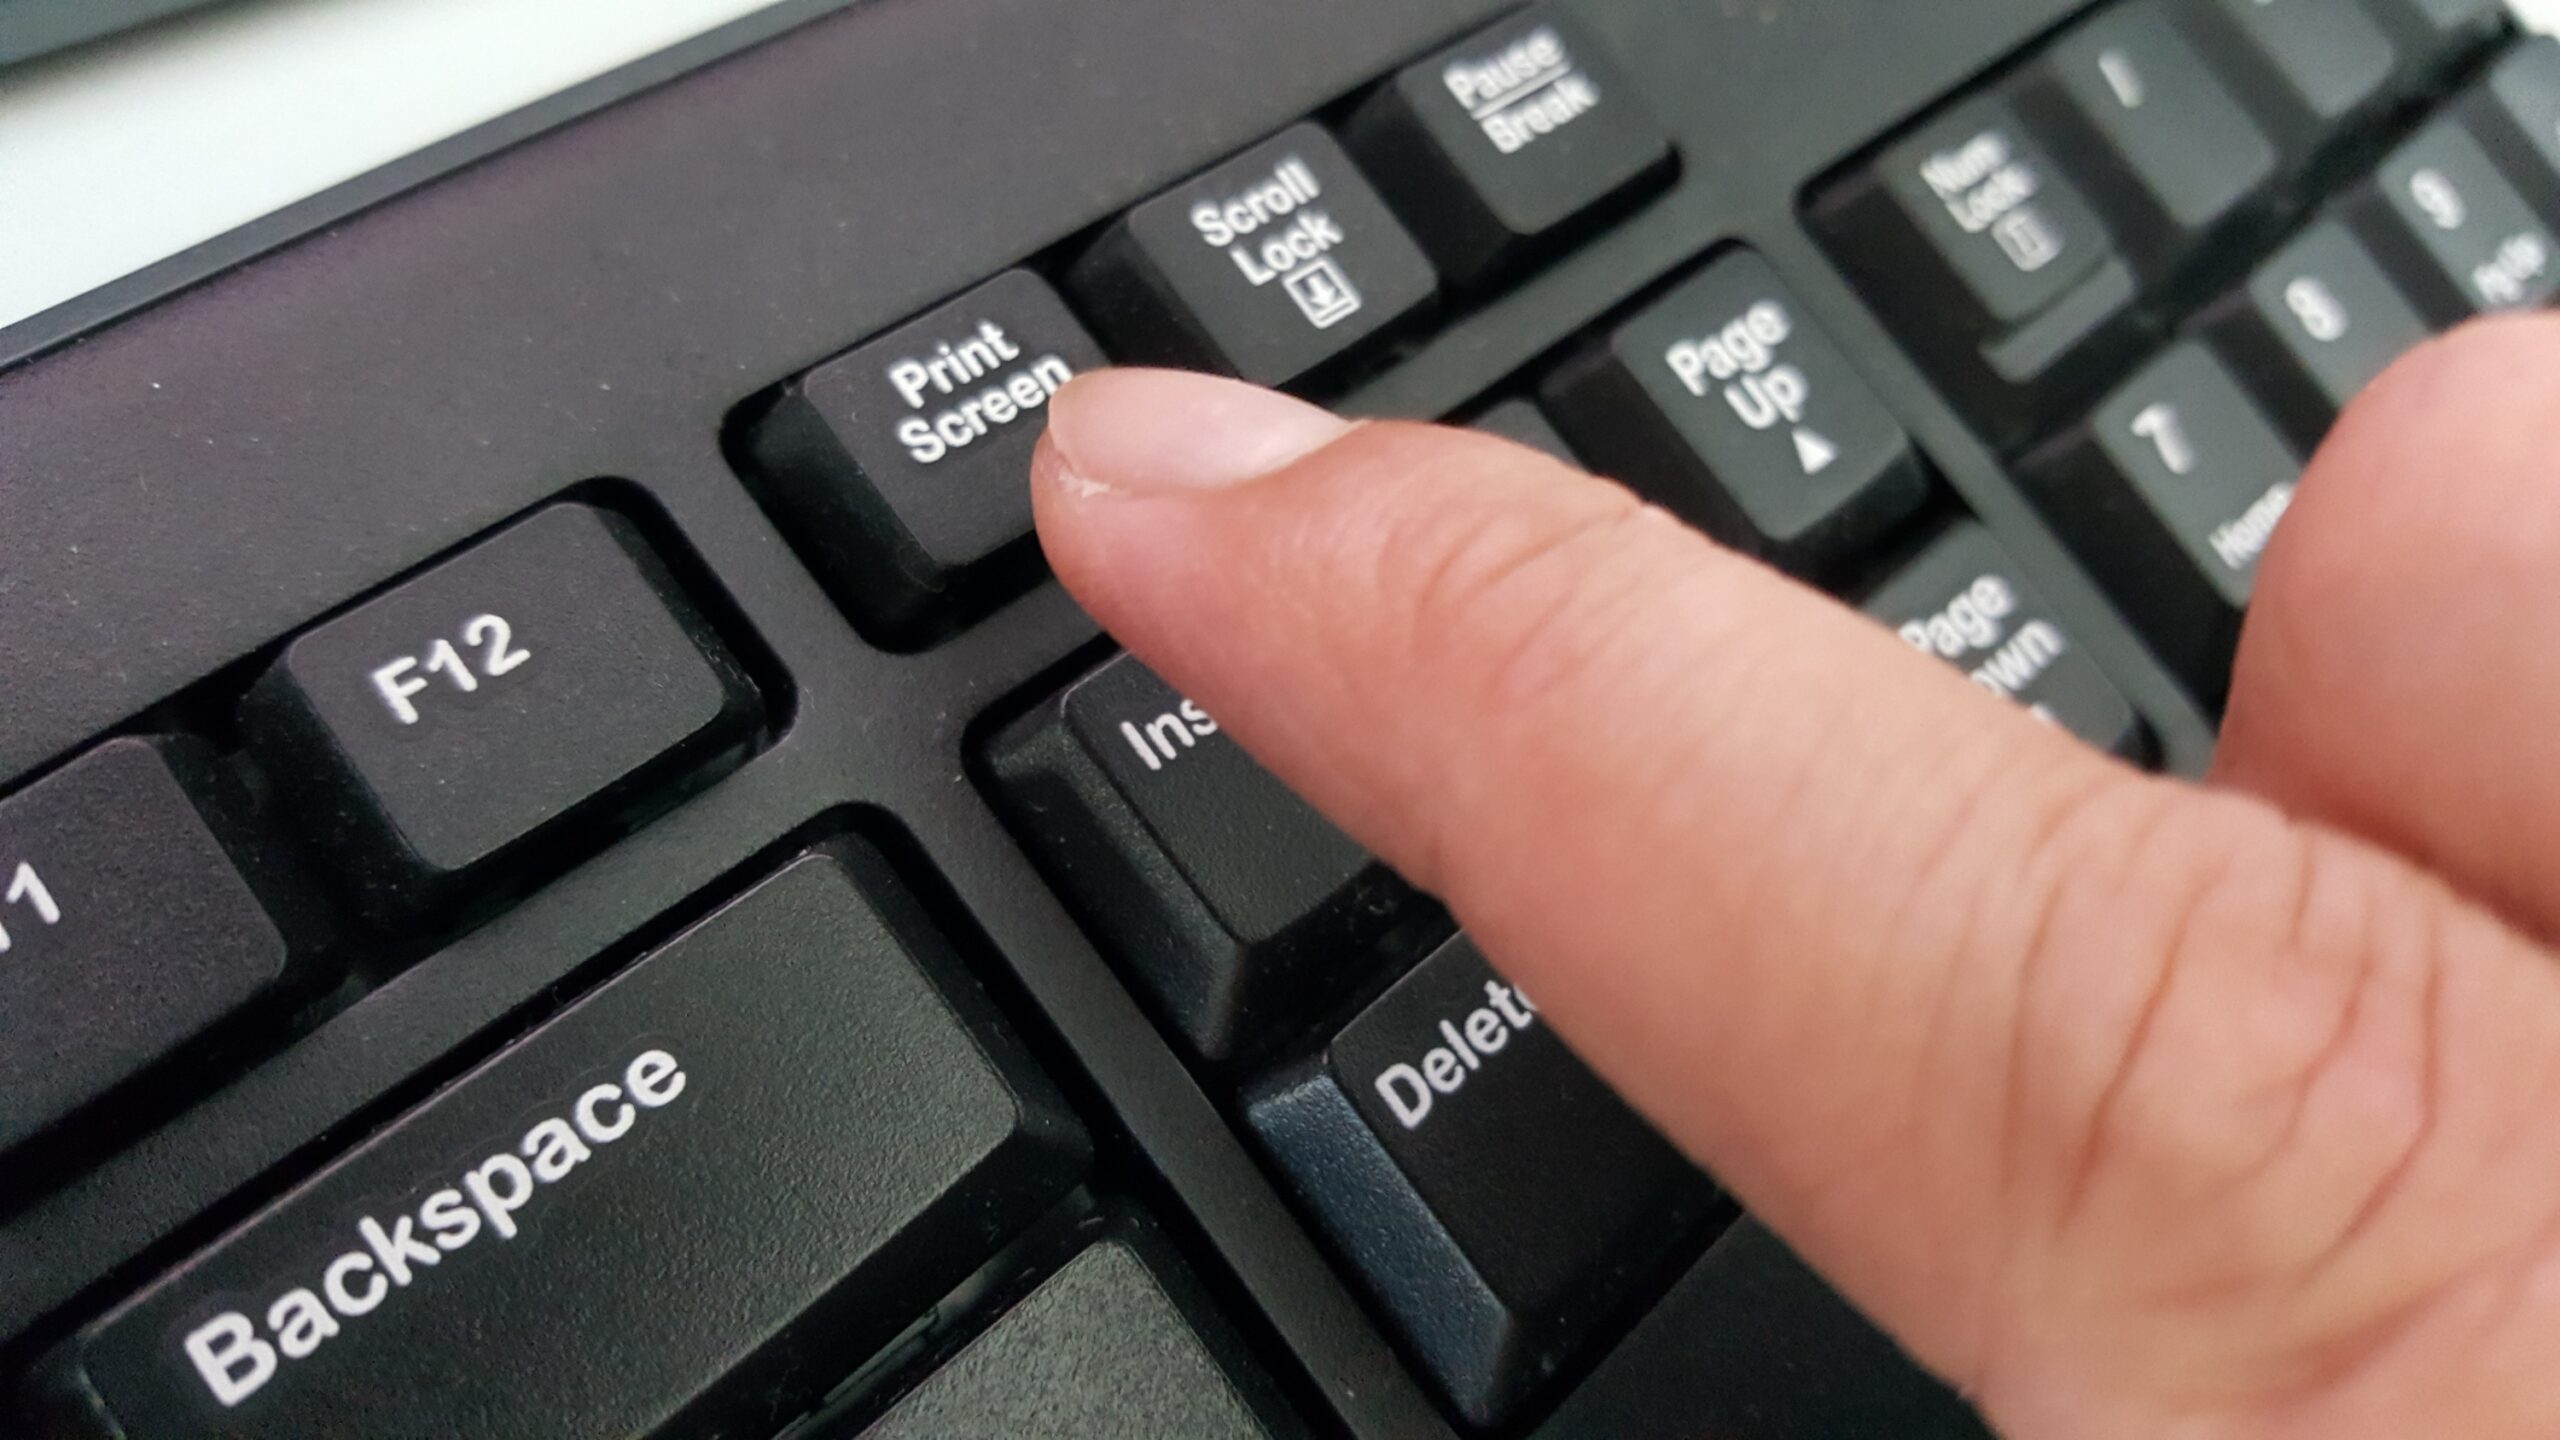
Se vuoi fare uno screenshot con Windows 10, la giusta combinazione di tasti o uno strumento ti aiuterà. In questo consiglio pratico, vi mostreremo tutte le varianti.
Fare uno screenshot in Windows – ecco come funziona
È possibile creare uno screenshot in Windows 10 molto facilmente e rapidamente. Vi mostreremo il modo più veloce.
– Premete i tasti [Windows] e [Print] sulla vostra tastiera.
Ora troverai una cartella chiamata “Screenshots” nella tua cartella Pictures. Ecco lo screenshot che hai appena fatto.
Se hai copiato lo screenshot negli appunti, ora puoi aprire un programma di immagini come Paint e incollarlo premendo i tasti [STR] + [V].
Snipping Tool Plus: Fai uno screenshot senza premere alcun tasto
Se non vuoi fare screenshot con le scorciatoie da tastiera, ci sono altri modi.
– Il noto “Snipping Tool Plus” funziona anche sotto Windows 10.
– Scarica lo strumento gratuito e decomprimi il file zip.
– Poi clicca sul file EXE contenuto in esso.
– Nello strumento stesso, seleziona se vuoi creare uno screenshot a schermo intero, una sezione libera o una sezione destra.
Puoi poi salvare lo screenshot sul tuo disco rigido cliccando sull’icona Salva.
