757
Se volete fare uno screenshot con Windows 10, uno strumento o la giusta combinazione di tasti possono aiutarvi. La funzione screenshot è già preinstallata
Fare uno screenshot con Windows 10: come farlo con una combinazione di tasti
È possibile fare uno screenshot da soli in modo semplice e veloce in Windows 10. Anche senza strumenti o software, poiché Windows offre già questa funzione. È necessaria la giusta combinazione di tasti.
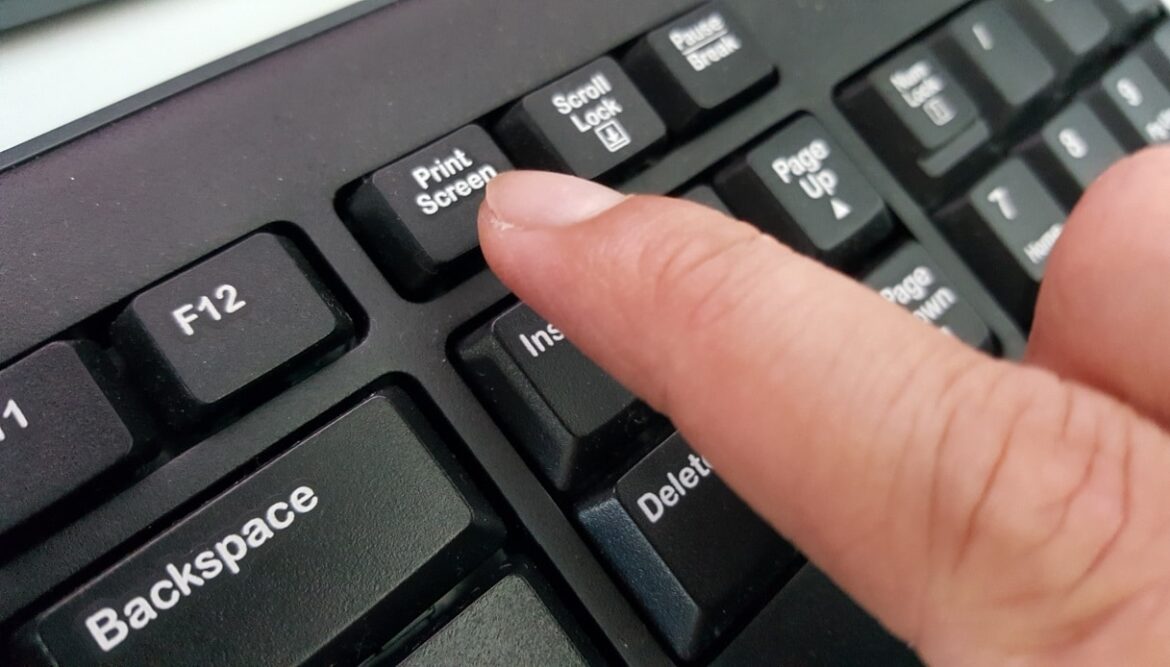
- Premere i tasti [Windows] e [Stampa] sulla tastiera. A seconda del PC o della tastiera, questo tasto può essere chiamato anche [Print] o [PrintSceen] o [PrntScr]. Si trova quasi sempre nell’angolo in alto a destra.
- Troverete ora una cartella chiamata Screenshots (Schermate) sotto Images (Immagini). Qui si trova lo screenshot appena scattato. Questa funzione scatta una foto dell’intero schermo. Se si utilizzano più schermi, viene creata un’immagine complessiva di grandi dimensioni, che può essere ritagliata a piacere con Paint o altri programmi di editing.
- In alternativa, è sufficiente fare clic sul pulsante [Stampa]. In questo modo lo screenshot viene salvato negli appunti e può essere incollato direttamente nello strumento di editing delle immagini di vostra scelta con [CTRL] + [V].
Windows 10: creare uno screenshot con lo strumento di taglio o “Taglia e schizza ”
In alternativa, in Windows 10 è possibile creare uno screenshot con i programmi preinstallati Snipping Tool o Cut and Sketch. Entrambi i programmi si trovano premendo prima il tasto Windows e poi digitando il nome del programma nella barra di ricerca.
- Snipping Tool: Una volta avviato il programma, è possibile effettuare uno screenshot utilizzando il semplice menu di navigazione. Cliccate su “Nuovo” per fare uno screenshot. Selezionate innanzitutto il modo in cui volete fare lo screenshot alla voce Modalità. Poi si può salvare l’immagine come di consueto:
- Taglio e schizzo: Utilizzare la combinazione di tasti [Tasto Windows] + [Maiusc] + [S] per selezionare direttamente l’area che si desidera salvare come immagine. Selezionare la modalità di screenshot nell’area superiore. La foto viene salvata negli appunti e può essere caricata in qualsiasi programma di immagini tramite [Ctrl] + [V].

