1.2K
If you are tired of the standard ringtones on your iPhone, you can set your own music as a ringtone. This works with a few detours. We present the most common possibilities here.
How to set music as a ringtone on your iPhone
Setting your own music as a ringtone on your iPhone is unfortunately not so easy anymore. However, there are a few workarounds you can use to do it anyway.
- The easiest way to set music as a ringtone on your iPhone is to buy music.
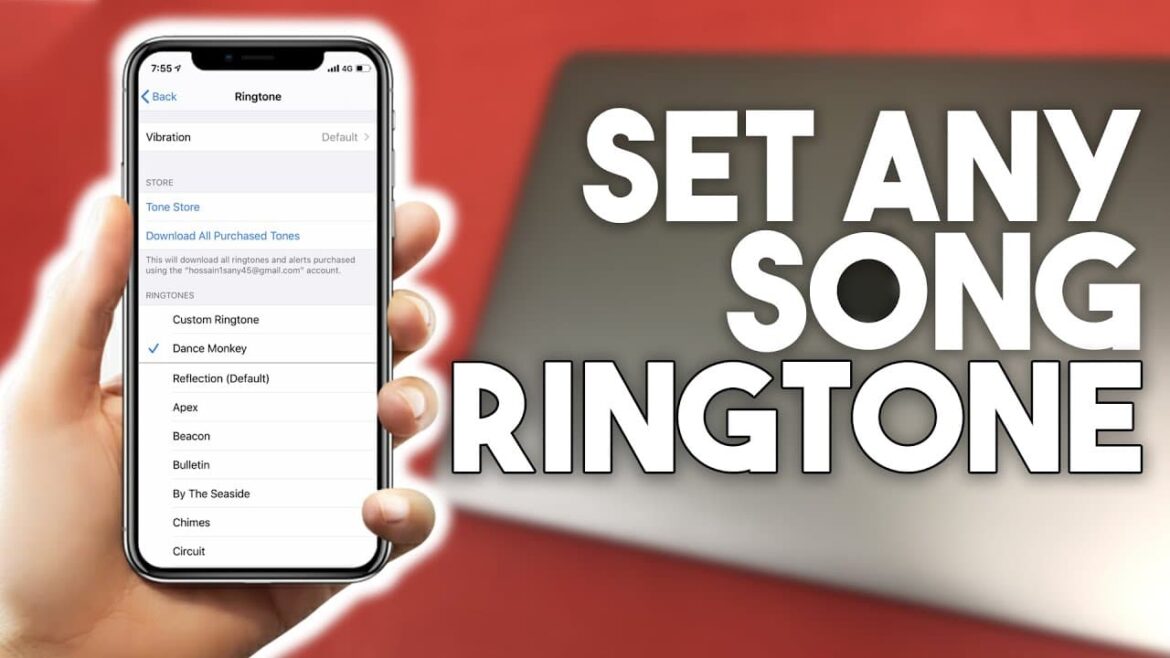
- Select “Tones & Haptics”, “Ringtone”, “Tone Store” in the settings.
- After purchasing, it is possible to select the track as the default ringtone or assign it to a specific contact.
- If you have already purchased certain tracks and now want to set them as your ringtone, you can easily set that too.
- After a system update, it can happen that certain music titles are no longer visible in the ringtone suggestion list. Then go to “Tones & Haptics”, “Ringtone”, “Load all purchased tones” in the settings. All previously purchased tones in the list will then be updated and available again.
Set music via iTunes
If you have uploaded your own music via iTunes, then it is very easy to set this music as a ringtone on your iPhone.
- Start iTunes on your PC and select the song you want.
- Right-click on the song and select “Information” from the context menu.
- Select the “Options” there and enter the start and stop times of the song. Note that the ringtone may only be a maximum of 30 seconds long. Then click on the “OK” button.
- Click on the file again with the right mouse button and now select the item “File”, “Convert” and “Create AAC version”. A copy of the song with the desired length will then be created.
- Now copy the file (right click ☻ “Copy” or [Ctrl] + [C]) and paste the file on your desktop.
- Now you need to change the file extension on Windows, to M4R format. On a Mac, you can convert the format by first renaming the file. Change the file name to “.m4r”.
- Under the Windows system, this is a little more complicated: Download the free iRinger and start the tool, it does not require installation.
- Click on the button “Import” and select the MP3 file from the desktop. Click on the “Export” button to save the MP3 file as an M4R file on the desktop.
- You can also follow the complete step-by-step instructions in the video above.
Import ringtone to iTunes
The converted ringtone is only in the app and must now go into the iPhone folder with the ringtones:
- To do this, start iTunes and connect your iPhone to your computer. This works best via Bluetooth or via a cable.
- In iTunes, click on the iPhone icon in the menu bar under the play options.
- Now scroll to the “Options” in the overview and place a tick under “Manually manage music and videos”.
- Then go to the “Sounds” and drag the file into it. Then click on the “synchronise” button.
- Then click on “done”. This will safely disconnect your iPhone from your computer.
- Now you can find the ringtone in the settings under “Sounds & Haptics”, “Ringtone” and wake up every morning to your favourite song and a simulated sunrise.
Create a ringtone with Garage Band
You can also create your own ringtone using the pre-installed app “Garage Band”.
- First open the app and import your desired track.
- Crop the title to a maximum of 30 seconds. Then save the cut.
- Now select the clip in the app by holding your finger on the title for a few seconds. The “Ringtone or beep” option opens. Tap on “Ringtone” and select “Export”.
- If you want to save yourself time and effort, however, the two free apps “Ringtone Maker” and “Ringtone Designer” as well as their paid counterpart “Ringer” are also suitable for you. You can find the apps in the App Store.

