Notice: Function _load_textdomain_just_in_time was called incorrectly. Translation loading for the rocket domain was triggered too early. This is usually an indicator for some code in the plugin or theme running too early. Translations should be loaded at the init action or later. Please see Debugging in WordPress for more information. (This message was added in version 6.7.0.) in /var/www/practical-tips.com/wp-includes/functions.php on line 6114

Notice: Function _load_textdomain_just_in_time was called incorrectly. Translation loading for the mailchimp-for-wp domain was triggered too early. This is usually an indicator for some code in the plugin or theme running too early. Translations should be loaded at the init action or later. Please see Debugging in WordPress for more information. (This message was added in version 6.7.0.) in /var/www/practical-tips.com/wp-includes/functions.php on line 6114

Notice: Function _load_textdomain_just_in_time was called incorrectly. Translation loading for the soledad domain was triggered too early. This is usually an indicator for some code in the plugin or theme running too early. Translations should be loaded at the init action or later. Please see Debugging in WordPress for more information. (This message was added in version 6.7.0.) in /var/www/practical-tips.com/wp-includes/functions.php on line 6114
Create a second Apple ID: How to proceed - Practical Tips

Create a second Apple ID: How to proceed

by Johannes

Creating a second Apple ID is interesting for those who want to access foreign App Stores, for example. This can be done in just a few steps

How to create a second Apple ID

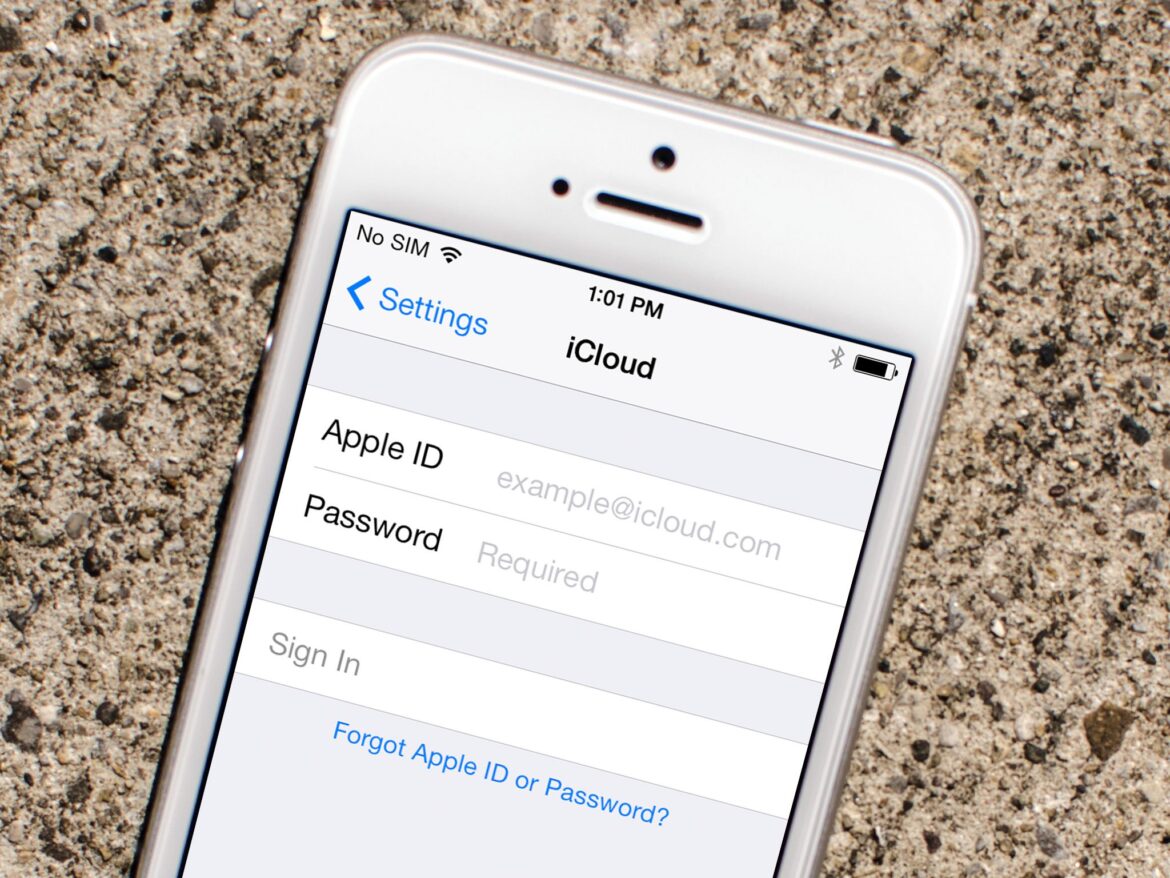
With a second Apple ID, you can use apps that are only available abroad, for example. But you can also separate your professional and private life this way.

  • For the setup, open iTunes on your laptop via Windows, for example. It is important that you are logged out of your original account.
  • Then click on “Account” in the menu and select “Sign in”.
  • There you now have the option “Create new Apple ID”, which you click on. Now follow the steps and enter all the required data.
  • It is important that you use a different email address than the one you used for the other Apple ID.
  • Once you have confirmed the email address, you will be in possession of another Apple ID.
  • You can also get another ID via the App Store. There too, log out and then select the option “Create new Apple ID”. Follow all further instructions there too.
  • On the Mac, continue to create an ID through System Preferences. Select “Sign in with your Apple ID” and then “Create Apple ID”. Follow all instructions in this case as well.
Related Articles

Leave a Comment