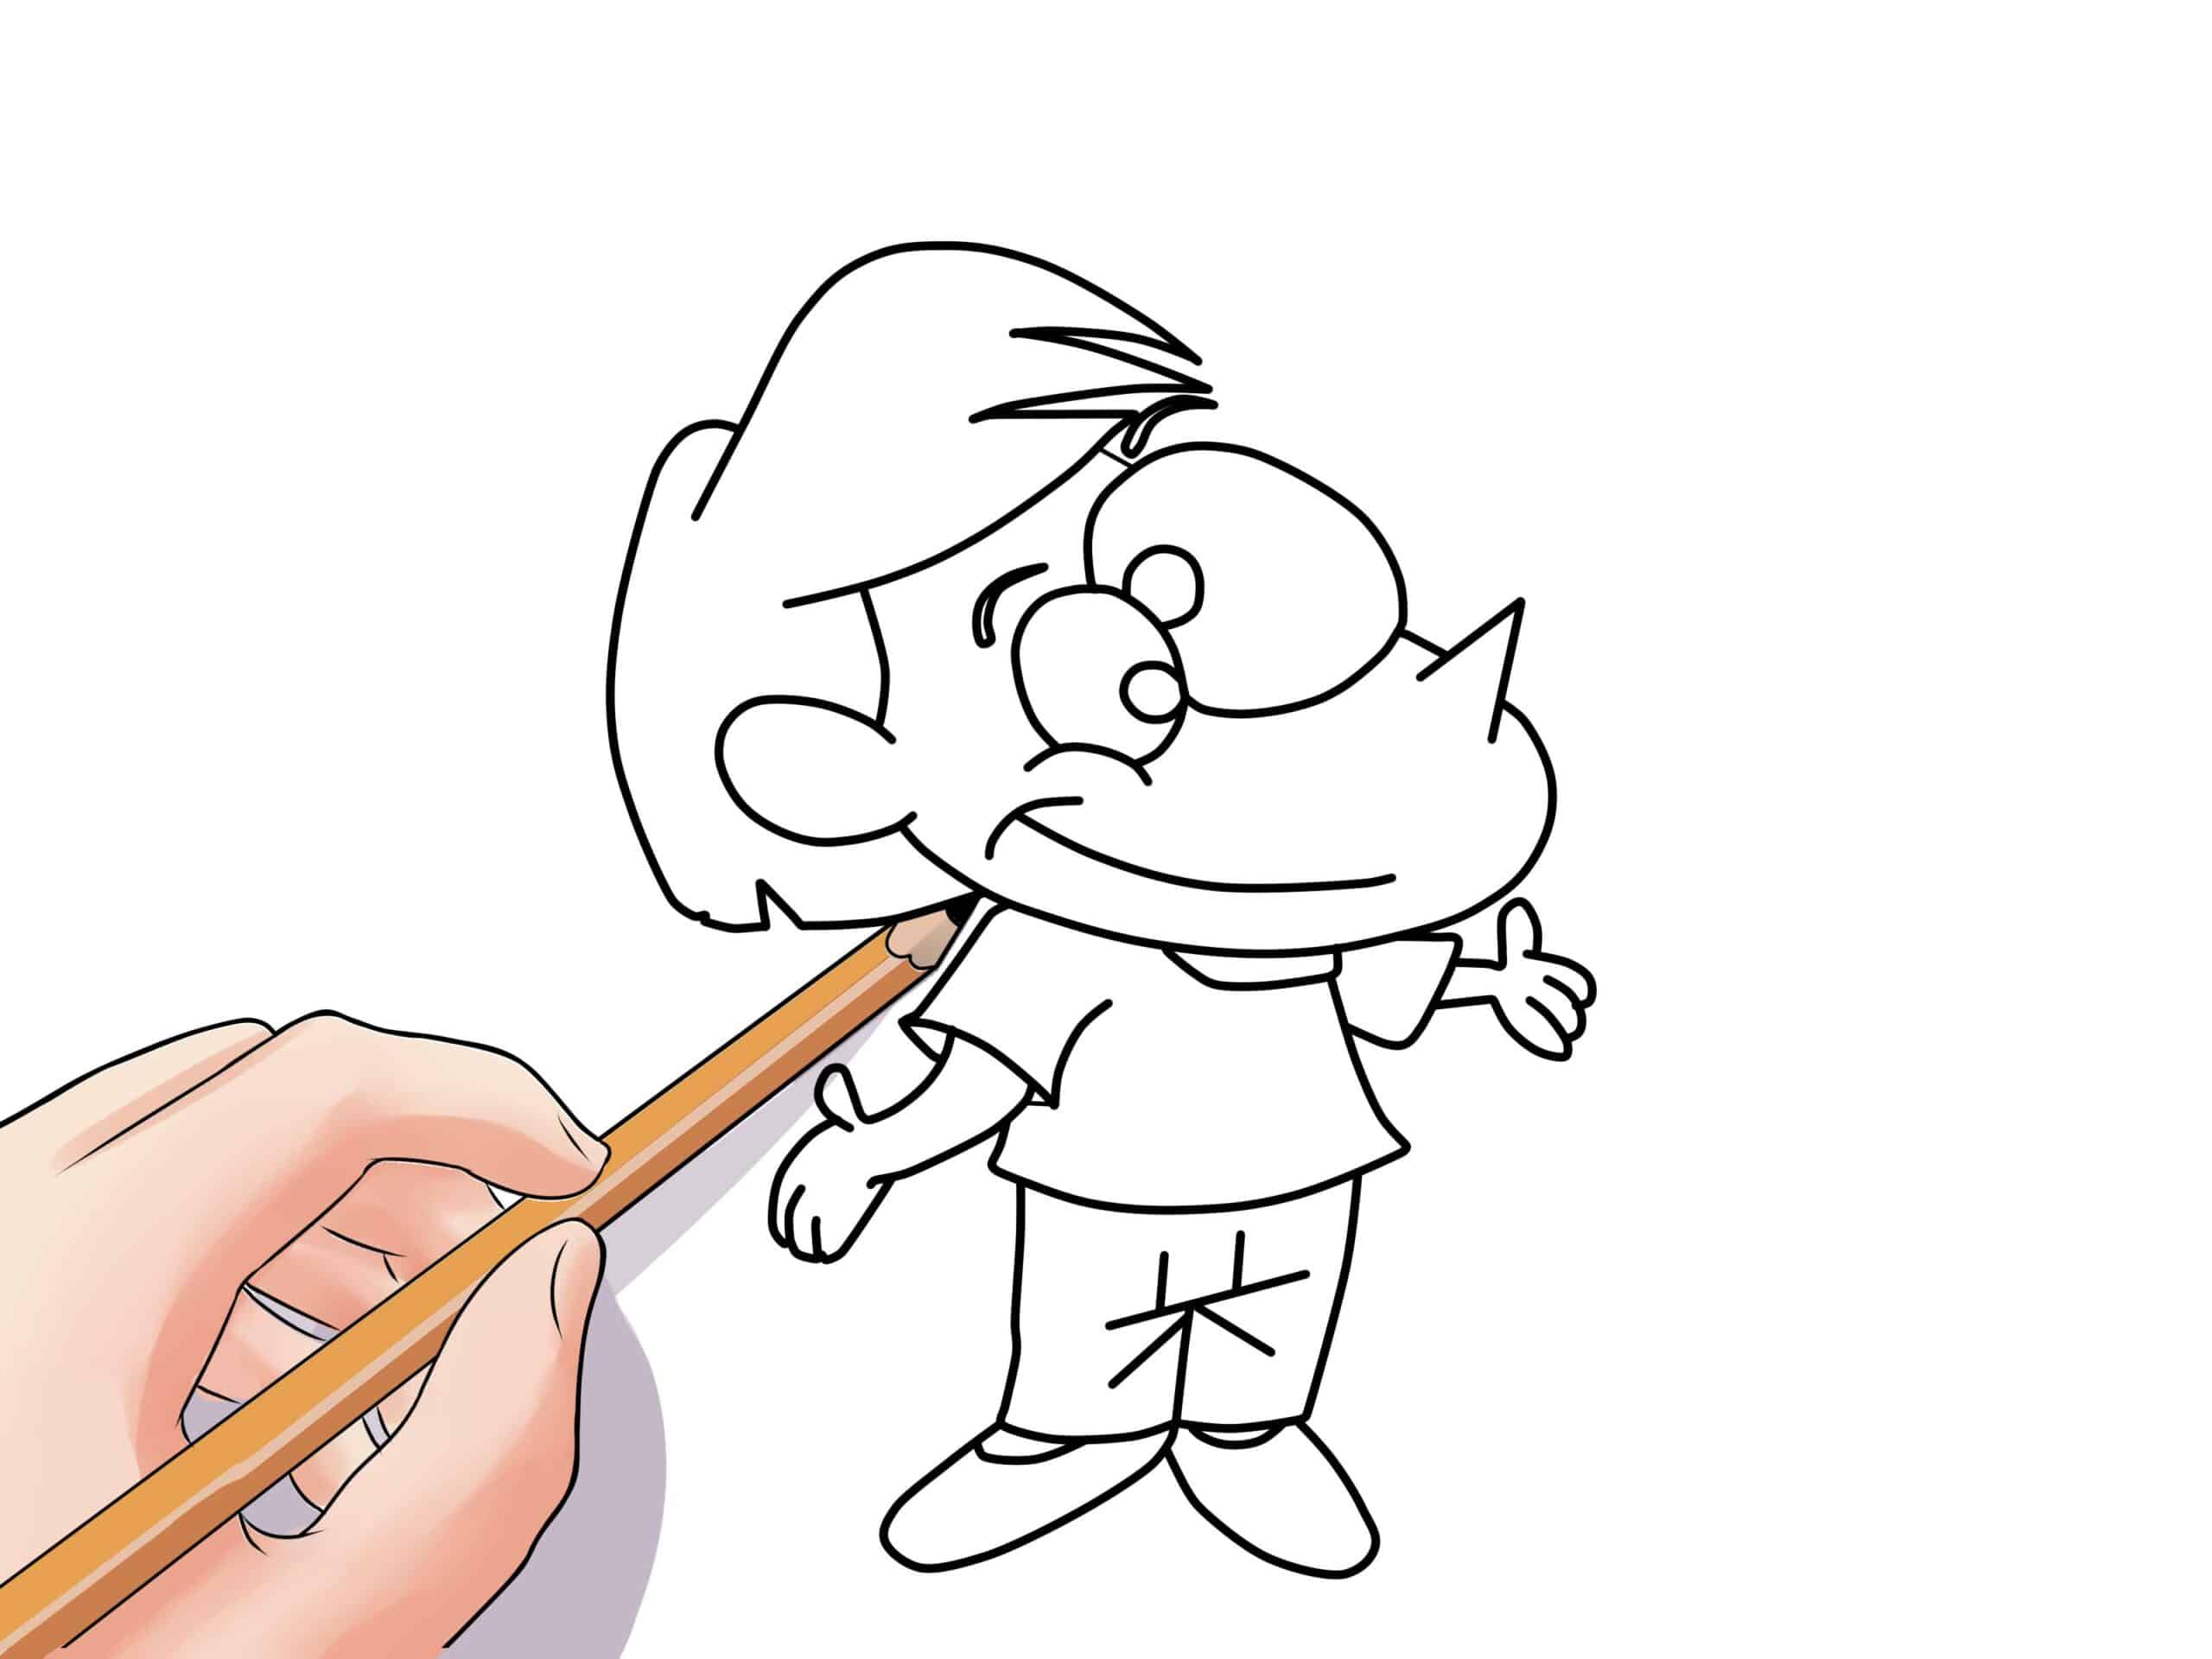
You can create your own animated films in many ways. The easiest way is to start by drawing a figure like a stick figure. You can then scan this and edit and animate it with the help of different programmes.
Create animated films yourself: Start with the drawing
No cartoon without drawing. If you need drawing tips, there are many useful tutorial videos on YouTube, such as on Comicwelt. If you want to create cartoons yourself, you will need a soft pencil for sketches, thick permanent felt pens or a pen for the lines and markers for the colouring.
- Paint scene backgrounds on paper. You can either draw the foreground on paper and cut it out or use foil. The latter is best painted from behind so that the paint is evenly distributed on the front.
- Photograph or scan your finished drawings. For photos, make sure the lighting is even. The drawings do not have to be perfect, you can still make changes on the computer.
- Of course, you can also create individual elements or the entire drawing on the computer.
Image editing on the computer
On the computer, you can use image editing programmes to correct drawing errors, create additional images from a source image and make the background transparent.
- For small corrections, image editing programs such as GIMP, Pain.NET, SketchBook and Inkscape are suitable. Paid programs such as Adobe Photoshop are also very suitable for this purpose.
- In order to not only edit individual images, but to create image series with a temporal progression, programmes such as Pencil, Plastic Animation Paper and Adobe Illustrator are suitable, some of which are available free of charge. Drawing with a graphics tablet is particularly easy here.
- For most of the programmes there are forums and introductory videos on YouTube.
- You can create entire animations on your tablet or smartphone with the paid Android app Stick Nodes Pro – Animator.
Make video from images
Programmes with timeline have functions to create videos from series of pictures. If you prefer to create the graphics in familiar image editing programmes, you can convert the individual images into a video
- An easy method is to use GIF animations. You can create these with “GIMP” or the freeware Ulead GIF Animator Lite, for example – or alternatively with the more extensive, but chargeable full version. Simply insert your pictures in the correct order and set in the “Global information” how often the animation should repeat. GIF animations, however, do not support sound.
- If you also want to put sound under the video, the Windows Movie Maker or VirtualDub are suitable programmes.
- Here are quick guides to creating videos from still images in Windows Movie Maker and VirtualDub.
Creating cartoons in Windows Movie Maker
Only four small steps are needed to create a video from individual images:
- Click on “Add videos and photos” and select all the frames. Then put them in the right order, if necessary.
- If you not only want to play the individual pictures one after the other, but also want to cross-fade them with effects, click on the picture to which you want to cross-fade and select one of the “Visual effects”.
- Click on “Add Music” to place an audio file under the video
- Now save the project as a video.
