700
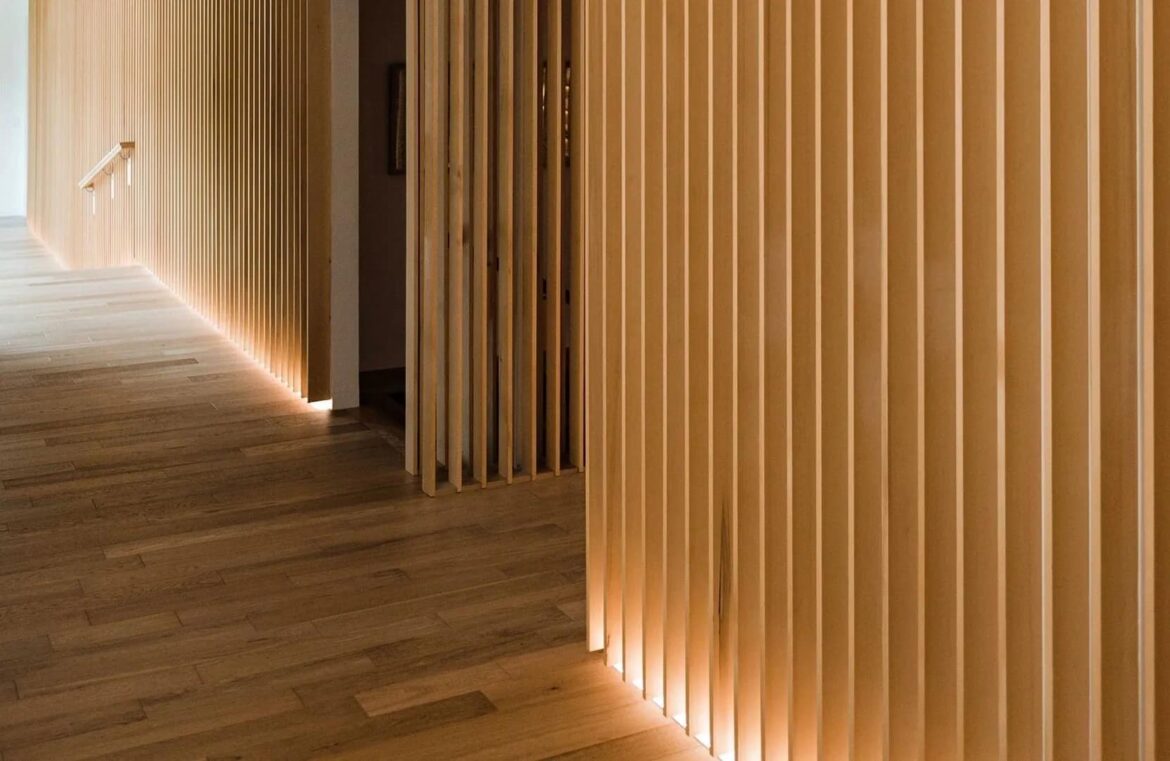
You can build a decorative slatwall yourself in just a few steps. It makes for an eye-catcher in the room and has both a practical and aesthetic effect.
Build a slatwall yourself: This is what you need
A slatwall is ideal as a room divider, accent wall or wall covering. It can be built in the living room, but also in the bedroom and is always a decorative element. You will need the following materials:
- The wooden slats are important in the first step. Solid or real wood, such as spruce, is popular, depending on the desired width and length.
- In addition, wooden battens are important for assembly at the top and bottom.
- You will also need wood glue and screws or nails.
- With a tape measure and spirit level, you can later determine the exact alignment of the wooden panels and properly assemble the slat wall.
- To work with the wood, you should have sandpaper or a sander ready, as well as a saw to cut the slats to size. Optionally, you can use wood paint, glaze or varnish here if you want to customize the look a little.
Step-by-step instructions for your slat wall
A homemade slat wall brings structure and style to a room. It takes a few steps, but the result is well worth it.
- Preparation and planning: First, measure the wall surface or the area where the slatwall is to be installed. Plan the distance between the slats. An even spacing will create a harmonious look in your room.
- Cut and sand the wooden slats: First cut the slats to the desired length. Then sand them carefully to get a smooth surface and to emphasize the wood structure.
- Attaching the slats: First, mount an upper and lower wooden strip on the wall to which the slats are to be attached. This will give you a good orientation. Now glue the slats to the strips or screw them on depending on their weight. Start at one end and work your way along, keeping the slats evenly spaced.
- Color scheme: Treat the slatwall with a wood stain to accentuate the natural wood color, or paint it in the desired color. Optionally, you can also apply a varnish at this step to protect the wood from moisture and create a long-lasting surface.
- Finishing: Use the spirit level to check that all the slats are aligned evenly. Wait until the glue has dried completely before putting any weight on the slatwall.
- Tip: LED lighting behind the slatwall can create special accents.

