747
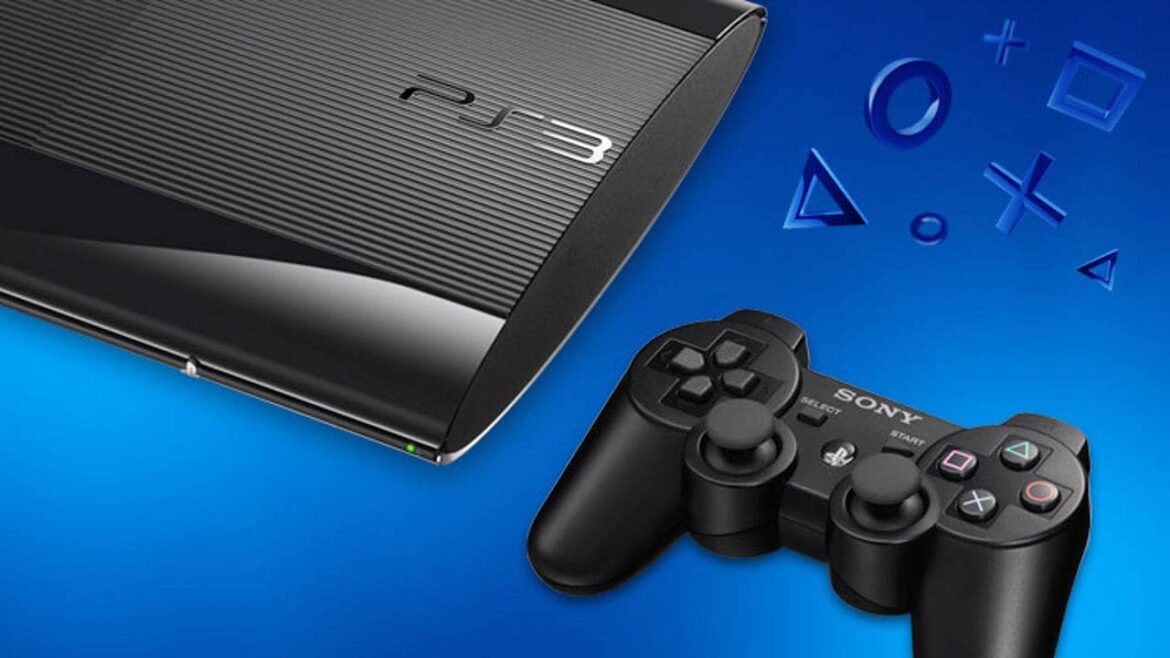
If a DNS error occurs on your PS3, it can usually be rectified quickly and easily
DNS error on the PS3 – that’s the reason
The DNS error is not caused by your Playstation 3, but by your router. If you follow these steps, you will soon be able to play online again:
- First you need to find out some details about your Internet connection:
- Open the “Control Panel” in the Windows Start menu.
- Now select “Network connections”.
- Now double-click on your active Internet connection.
- A new window opens. Select “Network support” in this window.
- Make a note of the numbers behind the following entries: IP address, default gateway and subnet mask.
How to fix the DNS error on your PS3
Armed with the numbers, you can now continue on the Playstation. Go to “Settings” in the menu and then to “Network settings”.
- Now you have to select the infrastructure mode with “New connection”
- Here you must give the new connection a name. Then press the right arrow button.
- Continue with the “Scan” option listed there. Select the network you want to use for the Internet connection here.
- You must now enter your WEP key or password.
- Set “Address setting” to “Special”. In turn, you must set the “IP address setting” to manual.
- A window opens. Now comes a trick: The router caused the PS3 DNS error due to IPs. Therefore, you now need to slightly change the numbers of the IP address you actually wrote down before. To do this, simply replace the last three digits with each other:
- Now only enter the number of the subnet mask under “Netmask”. The first and second DNS will receive the number of the default gateway that was also written down previously.
- If your entries are correct, the Internet connection of your PS3 should work again.

