324
A sagging or damaged headliner in your car is annoying. However, it can be repaired with the right tips.
How to repair your headliner
With the right tools and a little skill, you can easily repair the headliner yourself without expensive workshop costs. To do this, proceed as follows:
- Tools and aids: The exact tools you need for the repair will vary depending on the damage. However, a heat-resistant, stable spray adhesive and needles for fixing are always helpful. Cutting tools for the fabric and a spatula or credit card for smoothing are also important.
- For extra-strong hold on corners and edges, you should also have a hot glue gun ready. For larger areas of damage, this can help to reattach the headliner properly.
- Determine the cause and prepare: Usually, the headliner in the car starts to sag because the glue dissolves over time, moisture penetrates or the material simply ages. Before repairing, you should thoroughly clean the headliner and then let it dry. This helps to remove dust and moisture.
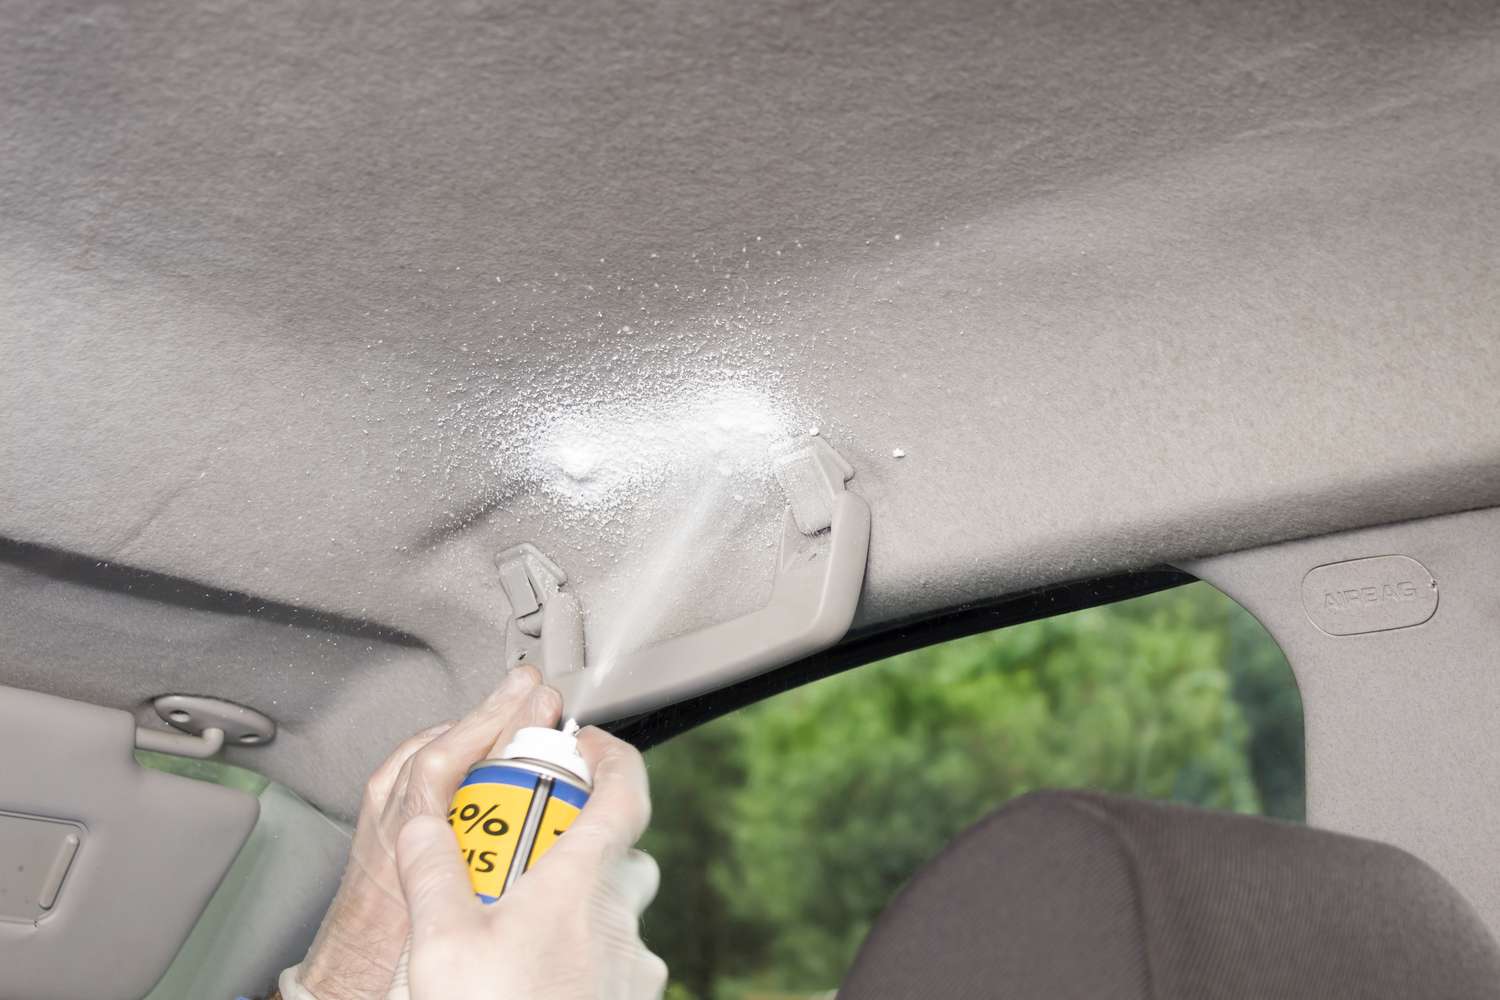
- Repair minor damage: For smaller areas, a heat-resistant spray adhesive is often sufficient. Spray the adhesive carefully onto the loose material and then press it on firmly. Keep in mind that the spray adhesive dries quickly, so work quickly. Short pins or nails can also help to reattach the fabric until the adhesive dries.
- Repairing large areas: If the damage is more extensive, such as the entire headliner sagging, it should be removed and reupholstered completely. This is best done with a special headliner fabric and heat-resistant spray adhesive. To do this, carefully pull off the old fabric. Evenly distribute the spray adhesive and carefully press on the new fabric without wrinkles.
Preventative tips
Once you have successfully repaired your headliner, it is useful to follow a few preventative tips to avoid further damage. There are a few things you can do to protect your headliner as much as possible.
-
- Glue often ages more quickly in a warm car or when exposed to constant sunlight. This can be especially critical in summer when the heat builds up in the car. Therefore, use a sun shade if possible. This is especially recommended if you park outside for a long period of time.
-
- Park your car in a garage or in the shade if possible. This reduces the solar radiation and protects the interior of your car.
-
- Avoid high humidity in the interior, as moisture can dissolve the adhesive in the headliner. Regular ventilation or use of the air conditioning system can help to regulate humidity. It is recommended to dry the interior, especially after driving in the rain or snow.
-
- At the first sign that the material is coming away, you should immediately re-stick it in time. This way, you can intervene before major repairs are needed.
