1.3K
To set up your Samsung Galaxy A13, you need to follow the instructions on the screen. Before that, however, knowledge about SIM and SD card will help.
Setting up the Samsung Galaxy A13: Here’s what you need to know before you switch it on
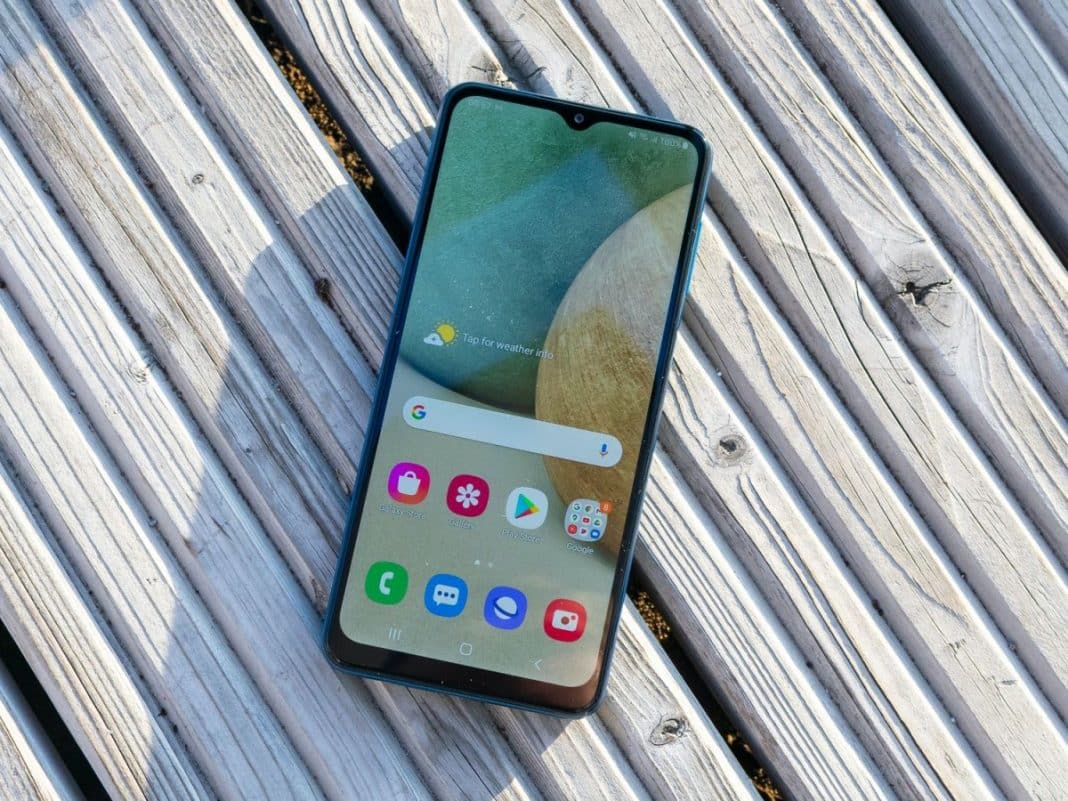
If you have bought a Samsung Galaxy A13, you must first set up the smartphone before you can use it.
- Before you can start setting up, you need to charge the Samsung Galaxy A13. A USB Type-C to USB Type-C cable is included in the scope of delivery, but you have to purchase the matching USB Type-C fast charging adapter separately. The smartphone can be charged with up to 15 W.
- You do not need to be connected to the internet to set up your smartphone. A SIM card is also not necessary for the first steps.
- If the Galaxy A13’s internal memory of 64 GB is not enough for you, you can expand the storage space by up to 1 TB with a microSD card. You will find the slot for the additional memory card in the same compartment as the one for your SIM card.
Setting up your new smartphone
Once you have charged your Samsung Galaxy A13 and inserted a SIM card and a microSD card, if applicable, you can switch on your smartphone and start setting it up.
- Press and hold the function key on the right edge of the casing to switch on the phone.
- When you start the smartphone for the first time, you must now follow the instructions on the display to set up the Galaxy A13. In the first window, tap the blue button to get started.
- Then select your desired language and tap Next.
- The next step requires you to agree to the End User Licence Agreement in order to continue. Optionally, you can also agree to send diagnostic data or select the I agree to everything field. However, you can leave the last two options unchecked.
- In the next step, your smartphone asks for permissions for system apps. Here you can decide which ones you want to allow and which ones you don’t.
- Finally, you can establish a WLAN connection. This is convenient if you want to download apps and other data without burdening your mobile data volume.
- In the next window, you can transfer data from your old smartphone to your new one using the Samsung Smart Switch. You can do this both wirelessly and with the help of a USB cable.
- After you have transferred the desired data to your new mobile phone, you must agree to the Android licence agreement.
- You can then protect your smartphone and activate a screen lock. However, you can also skip this step if you want to do this later.
- Before you complete the initial setup, you can sign in with your Samsung account or create one. Alternatively, you can skip this step.

