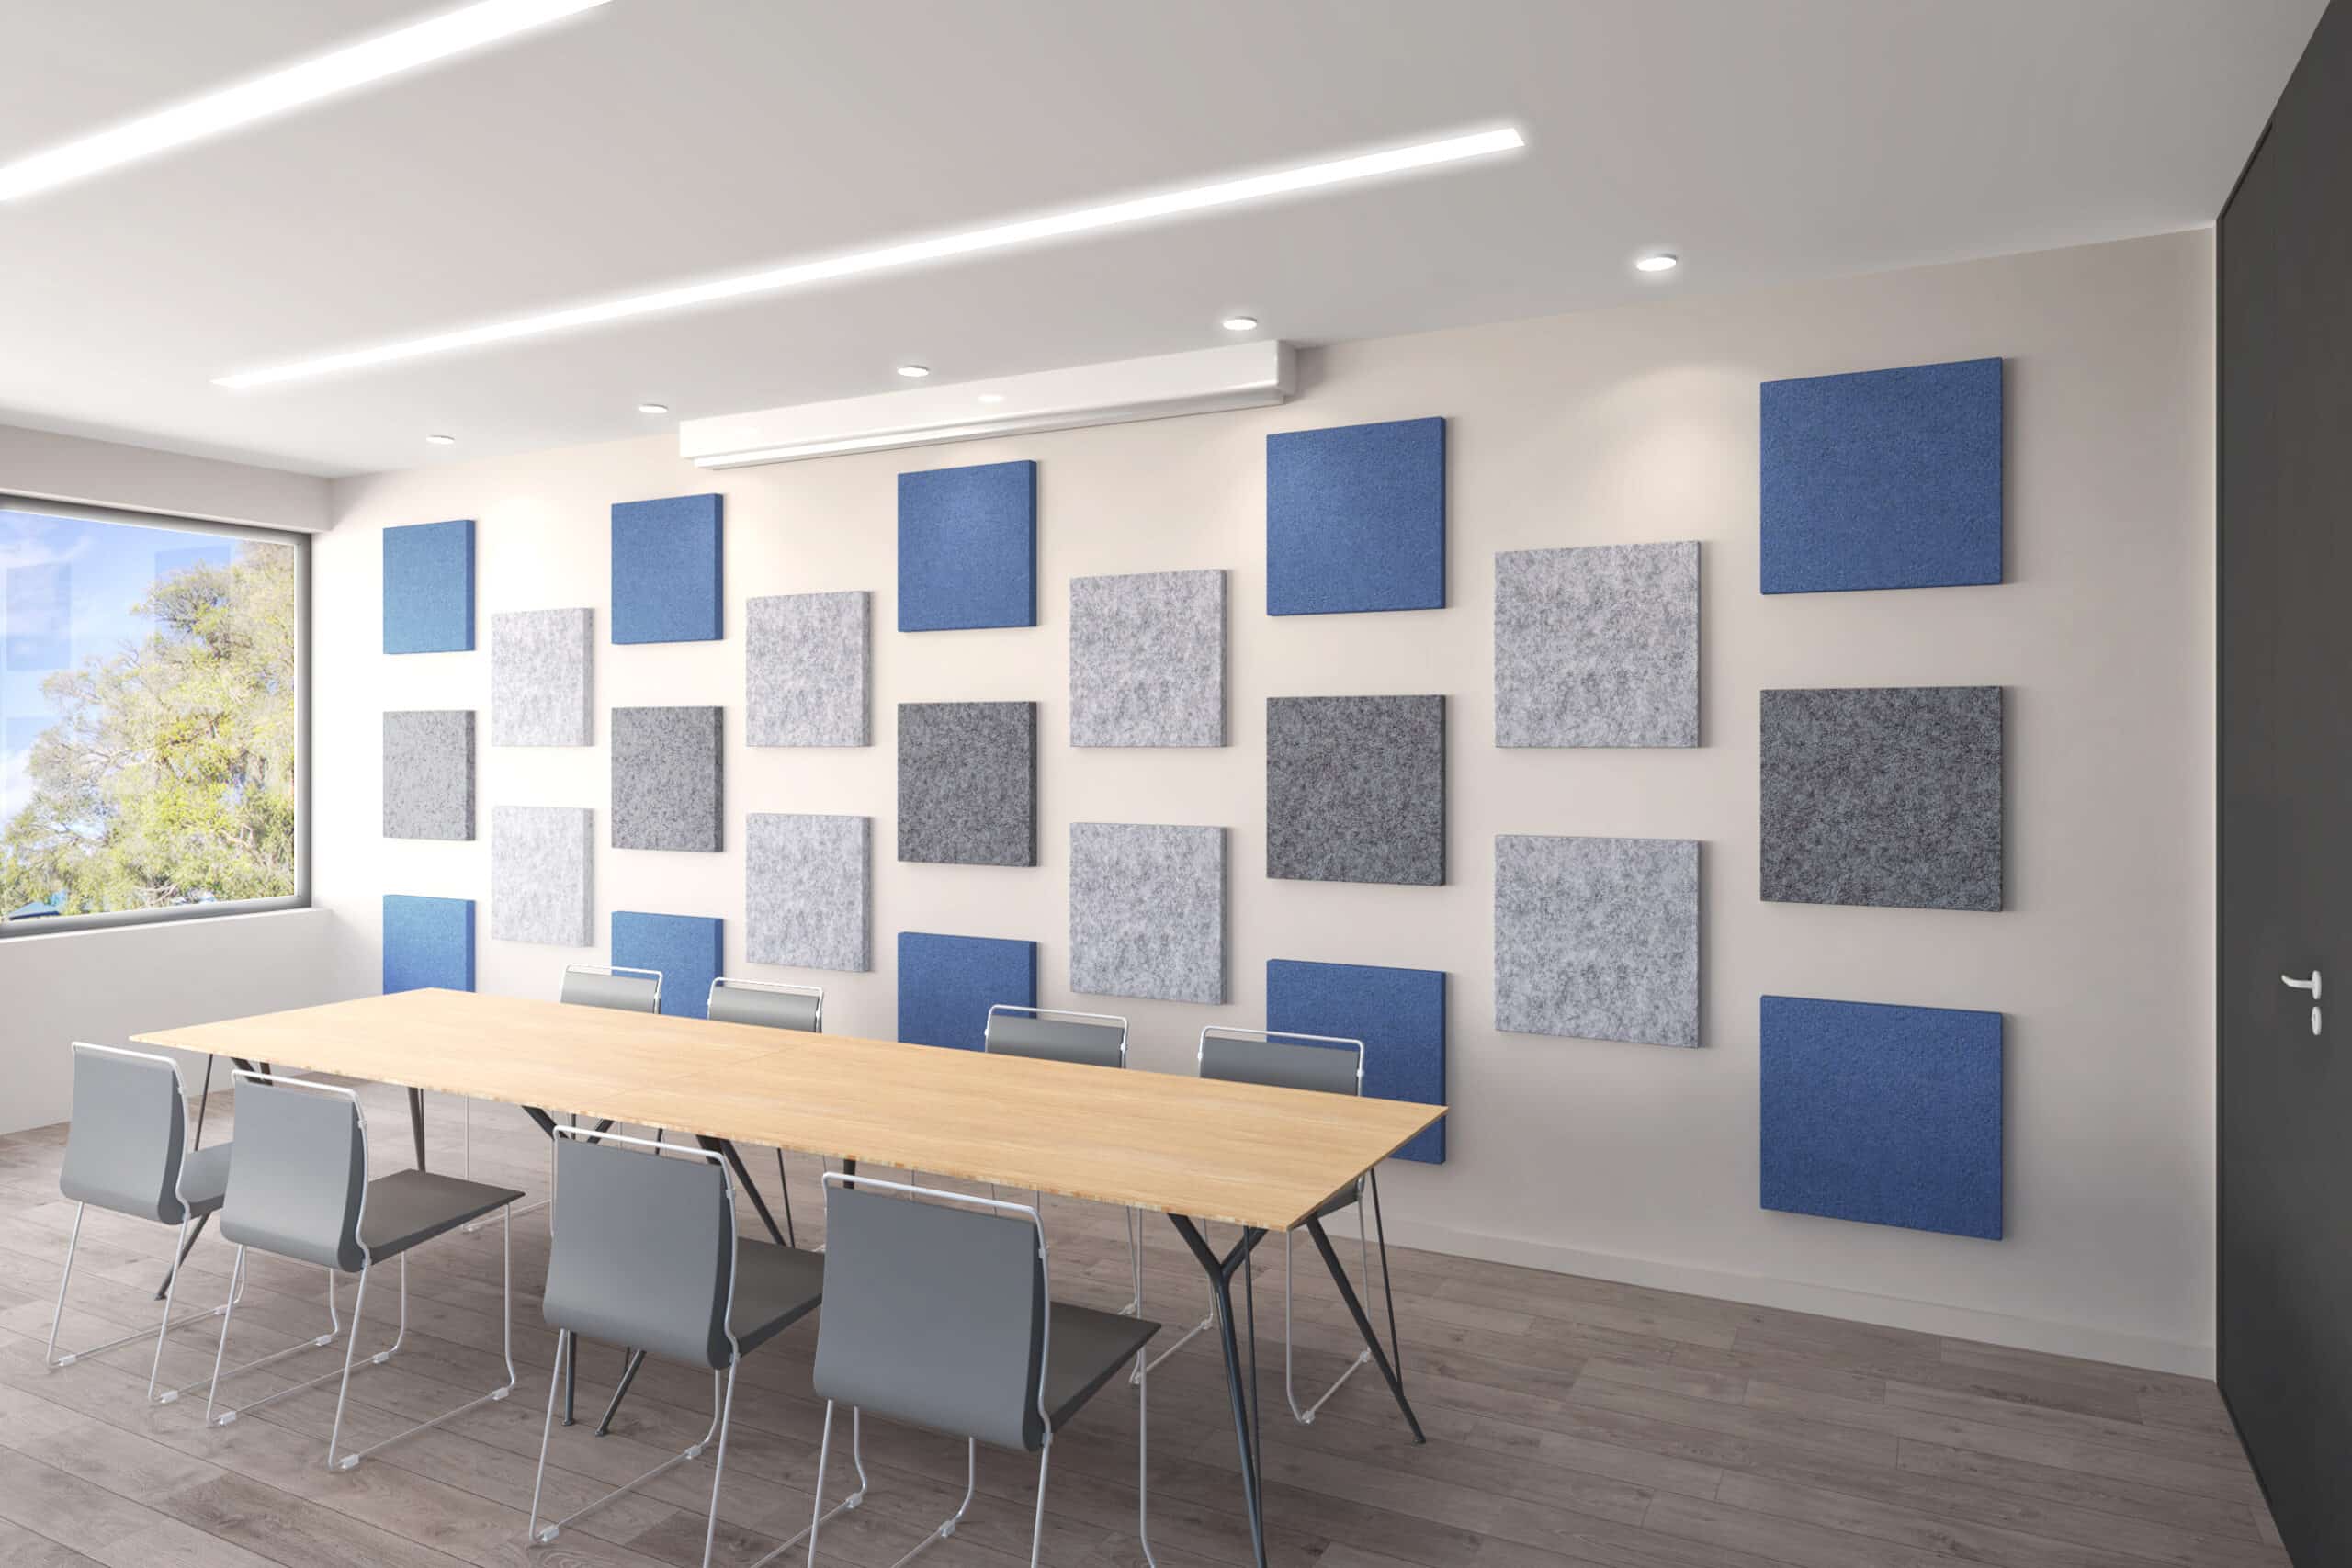
You can also make your own acoustic panels if you are not satisfied with the ones you can buy. This way, you can better customize the panels to your needs.
Make your own acoustic panels: First plan and prepare
With acoustic panels, you can improve the acoustics in your home or office, minimize annoying sound reflections and lower the noise level. You can also make your own acoustic panels, which is not only cost-effective but also gives you the freedom to design the size, design and material according to your ideas. Planning and preparation are essential:
- Before you start, you should carefully analyze what kind of panels and, above all, how many you need in your room. Important questions to ask yourself are: Where are the acoustics a problem? These are often larger, empty walls or ceiling areas.
- If the walls are already well damped, acoustic panels on the ceiling, so-called ceiling sails, can also help to further improve the room acoustics.
- Clarify how many panels you need. This can vary depending on the size of the room and the desired effect.
- Think about a design and adapt it to your interior style. The panels can be discreet or an optical highlight. If, for example, you use fabrics in different colors or patterns, your soundproofing will also become a decorative element. It can also be stylish to create several smaller panels and arrange them in patterns or rows on the wall.
- For simple acoustic panels, you will need: sound-absorbing and framing material, fabrics (cotton, for example) and tools such as a saw, stapler, wood glue, screws, drill and possibly a hot glue gun.
- Your sound-absorbing material can consist of acoustic foam, mineral wool, cotton mats or hemp fibers. Materials with an open-pored structure are particularly suitable.
Build the frame for the acoustic panels
Before you start working with the fabric you have purchased, you should design the frame for the acoustic panels as you want it. You can even customize the size.
- Cut the wooden slats to the desired dimensions using a saw. A common size for acoustic panels is around 60 x 60 centimetres, but you can also make larger or smaller panels.
- Connect the cut wooden slats to form a rectangular frame. This works best with wood glue and screws, as the frames need to be sturdy.
- If necessary, you can insert central crossbars for stability. These are particularly helpful for larger panels to hold the sound-absorbing material securely.
Finish the acoustic panels: insert the fabric and sound-absorbing material
A wooden frame by itself does not make your room soundproof, of course. Now the various fabrics of your choice come into play.
- Cut the sound-absorbing material to fit the frame and insert it into the frame. It should be snug, but don’t press it so hard that you destroy the structure of the material. You may be able to fix the material with a stapler or a little glue.
- Experiment with the thickness of the material and the distance between the wall and the panel. A distance of about two to five centimeters from the wall can increase sound absorption, as sound waves are then also absorbed behind the panels.
- Now it’s time to use the fabric you selected: it should be slightly larger than the frame so that you can easily attach it. Place the fabric over the sound-absorbing material and stretch it over the back of the frame. Attach the fabric with a stapler or staples.
- Make sure that the fabric is taut, but does not squeeze the material underneath. Fold the corners carefully so that the front looks clean.
- Once you have finished the acoustic panels, it is time to mount them. You can use screws and wall plugs to attach the panels directly to the wall. However, you can also use Velcro strips or magnets to position the panels more flexibly.
- If you want to slightly improve the acoustics, use spacers to raise the panels a little from the wall.
