
1.2K
Document templates often have the word “sample” in them, but Word makes it easy to remove watermarks.
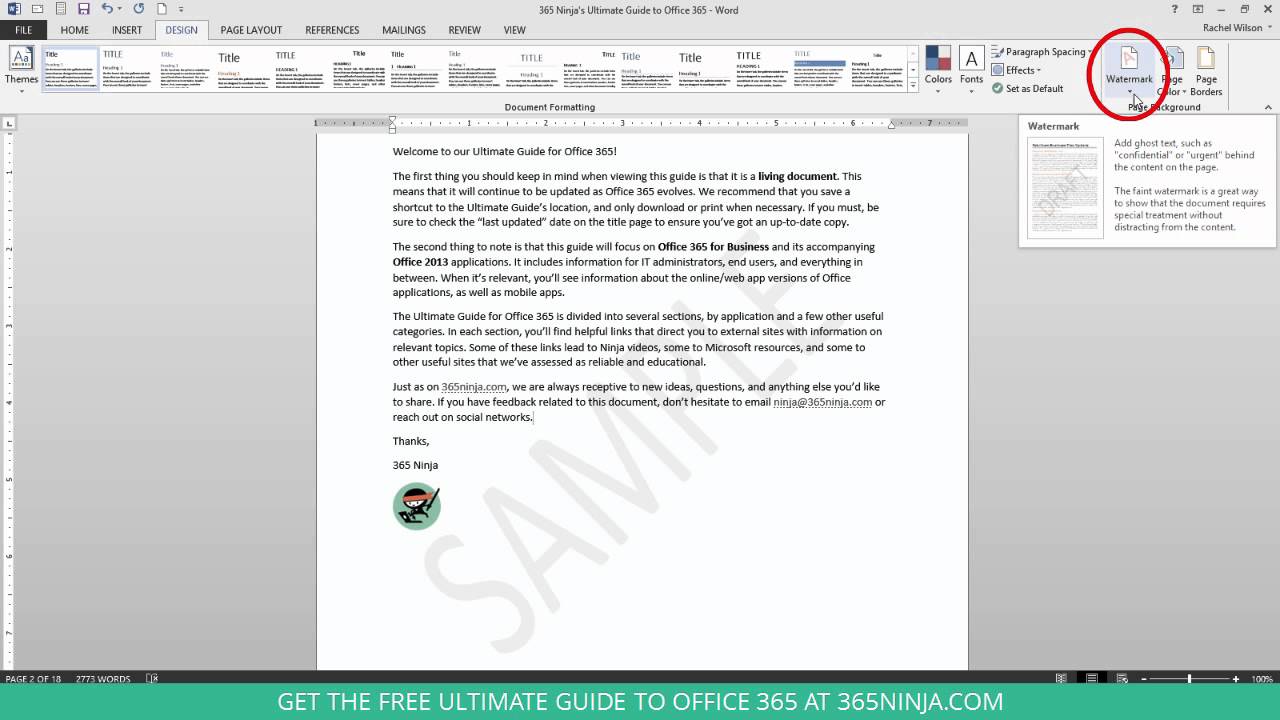
Remove watermarks in Word for Microsoft 365
On newer versions of Windows that work with Word for Microsoft 365, the watermark in documents can be removed with just a few clicks.
- Open the document and go to “Draft” -☻ “Watermark” in the menu. Click on “Remove watermark”.
- If this doesn’t work, you can double-click near the top of the page to open the header area. Hover your mouse over the watermark until a four-way arrow appears. Select the watermark and remove it with the “Del” key.
Older Word versions: Removing watermarks from documents
Watermarks can be removed from all documents in just two steps, even in older Word versions:
- Navigate in the menu bar at “Format” via “Background” to the menu “Printed Watermark”.
- Select the option “No watermark” and confirm with “OK”. Now all watermarks are removed.
Delete watermarks in Word headers and footers
Some watermarks that appear to be watermarks are actually headers or footers that extend across a larger area of the page. To remove them, follow these steps:
- Navigate to “Header and Footer” in the “View” menu.
- Now you can delete the text and graphics stored in the headers and footers.